Revised: 4/2021
This process is used to record payments to Vendors who are paid through EFT or ACH payments.
Set up Vendor for Direct Deposit
1. Select Master File and Code Entry
2. Select Master File Vertical Data Entry and Changes.
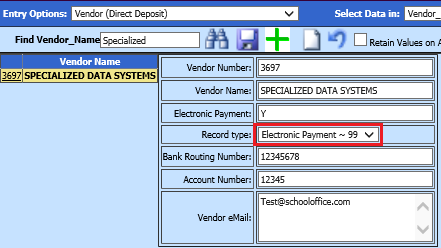
3. Entry Options: Select Vendor (Direct Deposit)
4. Select Vendor
5. Update Vendor Direct Deposit information

See below link for additional information on Vendor Direct Deposit master records: http://help.schooloffice.com/financehelp/#!Documents/vendordirectdeposit1.htm
6. Select Save
Complete Accounts Payable Invoice Entry:
See below link for additional details on entering an invoice:
http://help.schooloffice.com/financehelp/#!Documents/disbursementaccountspayableentryprocessing1.htm
Processing EFT Transactions
1. Select Accounts Payable
2. Select Check Voucher Processing
3. Option Description: Direct Deposit
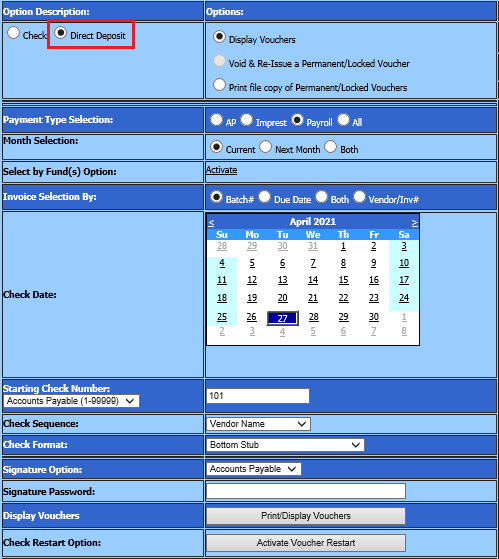
4. Options: Display Vouchers
5. Payment Type Selection: Select A/P, Imprest, Payroll or ALL, for the types of checks to print.
6. Month Selection: Select Current, Next Month or Both.
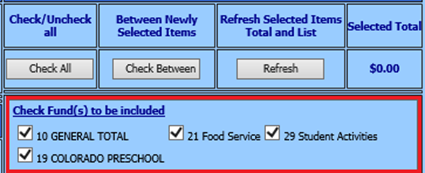
7. Select by Fund(s) Option: Select “Activate” This option will allow you to print checks by the specific funds instead of batch number.
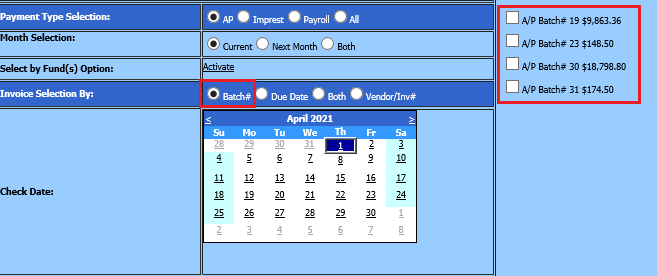
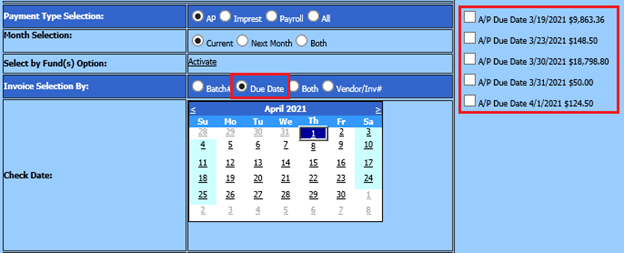
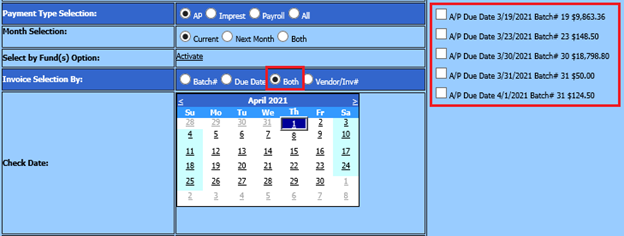
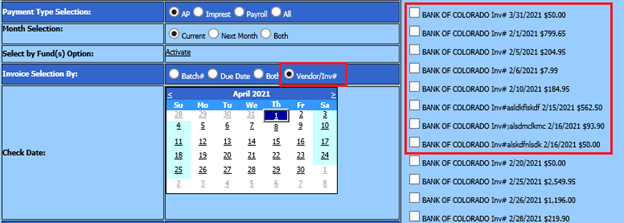
8. Invoice Selection By: Select from the checks to be printed by Batch #, Due Date, Both or Vendor/Invoice #.
•Batch #
•Due Date
•Both: Batch# and Due Date
•Vendor/Inv#
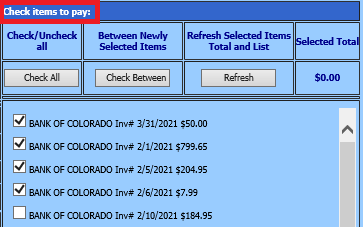
9. Under “Check items to pay” choose your invoices to print from the list on the right.
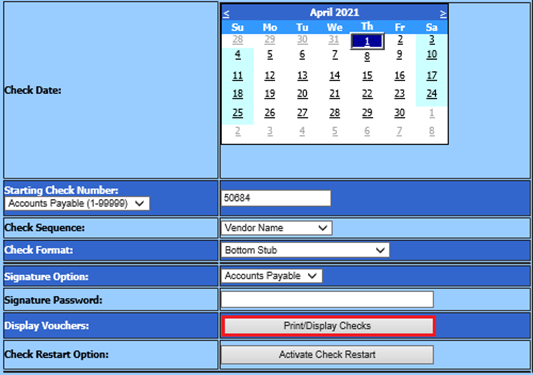
10. Select the Check Date, Starting EFT Check Number, Check Sequence, Check Format, Signature Option (enter in password if used).
11. Select “Print/Display Checks”.
12. Print and select “Export Report to Message Center” to complete the EFT checks.

13. Print and verify AP reports