Revised: 4/2021
To customize the Employee Portal Demographics view, a new view can be created. The new view must be named “Employee Portal Default View”.
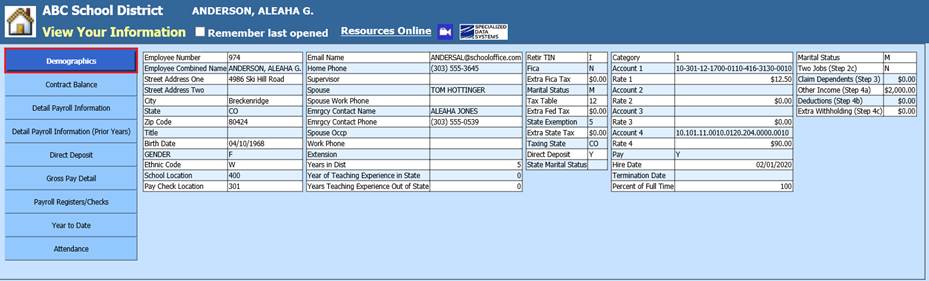
Default Employee Portal Demographics view
1. Select Administrative Utilities
2. Select Data View Definition
3. Major View Options:
a. Select Payroll Entry and Display Views
b. View Type to Display: Select View
c. Data Areas: Select Employee Master
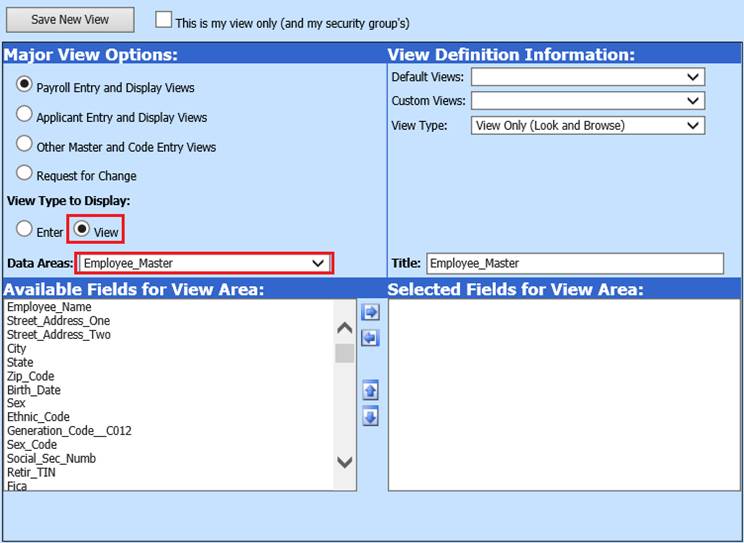
4. Available Fields for View Area: Select fields to be displayed for employees
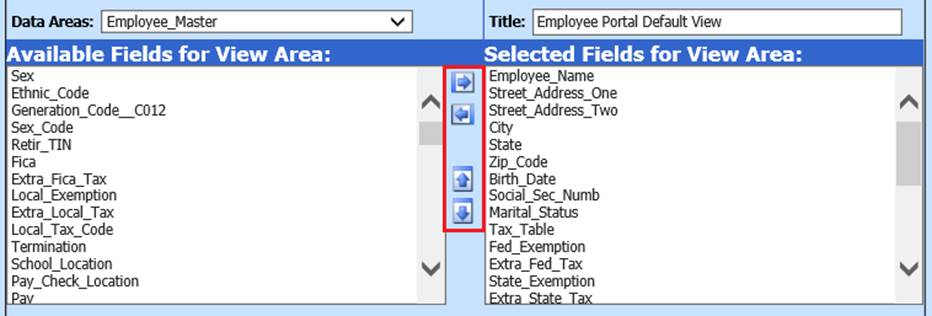
5. Use Blue arrows to select and adjust viewing selection. Use Left/Right arrows to add/remove fields. Use up/down arrows to adjust field order.
6. Title: Enter “Employee Portal Default View”. Note: This MUST be saved with this exact title for employees to view.
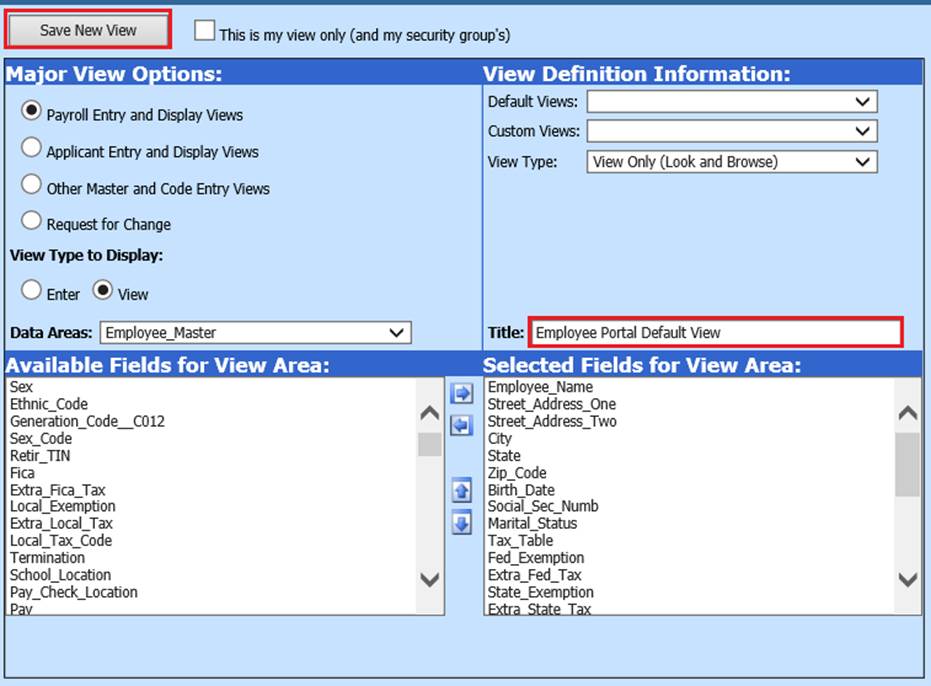
7. Select Save New View
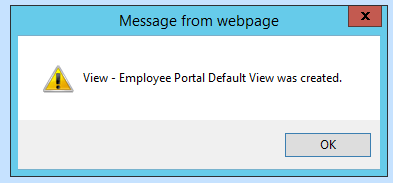
8. A message from the webpage will display, select OK
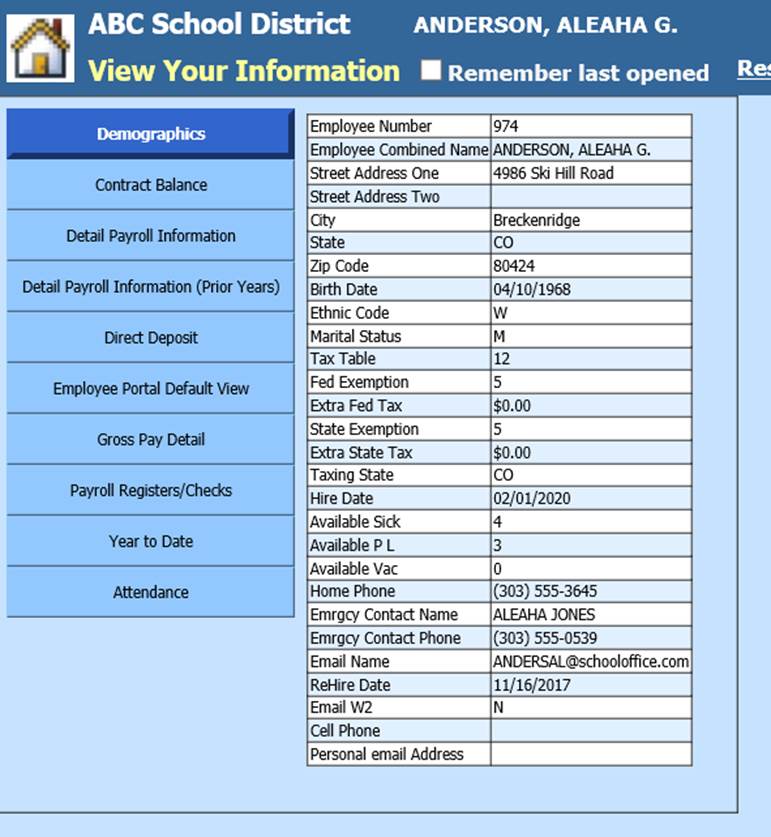
New Custom Employee Portal Demographics View:
Changing the Custom Employee Portal Demographics View
If there is a need to adjust the employee portal demographics custom view, complete the below steps:
1. Select Administrative Utilities
2. Select Data View Definition
3. Major View Options: Select Payroll Entry and Display Views
4. Select Custom Views: Select Employee Portal Default View
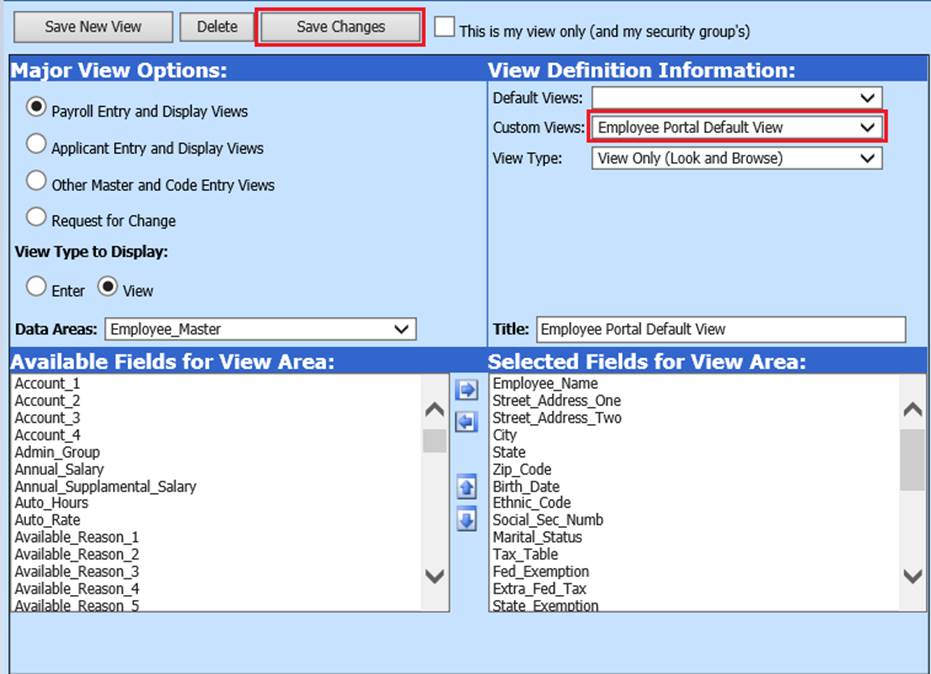
5. Update field selections
6. Select Save Changes