
Revised: 4/2023
This import is listed on the menu tree under Accounts Payable; in addition a selection has been added to the entry screen providing additional access to import.
From Menu tree selection:
From Disbursement/Accounts Payable Entry view:

To import, the file must be CSV or
XLXS Format
1. Choose the Import option

2. Select Browse to locate your file
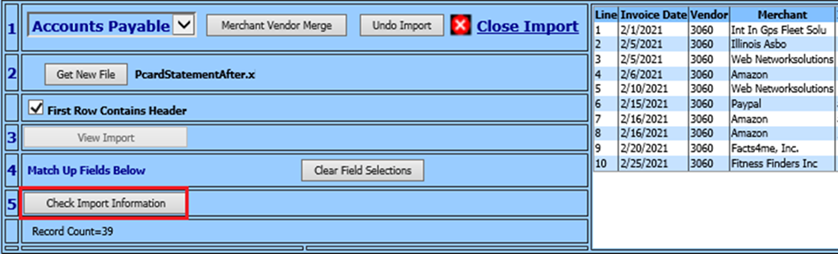
3. Select View Import – the file information will appear to the upper right

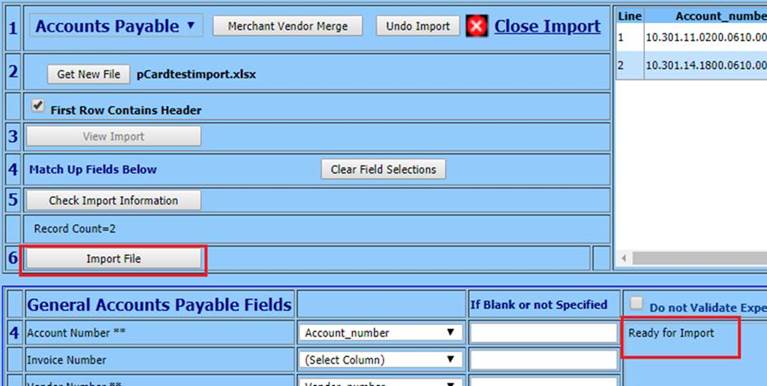
4. Match the SDS fields up with the file headers on the left (i.e. Account Number, Amount, Date). If you want a default for any of the fields key it in on the right (i.e. Vendor Number, Check Date, Batch Number). The “Expense Date” field will determine which month the entries are posted in. (see “General Accounts Payable Fields” screen shot below)

•Note: Fields with a double asterisk listed (**) are Required. Fields with a single asterisk (*), when NOT specified in the file, the system will assign a value
•Do not Validate Expense or Check Dates: This option will ignore the System Current Finance month and allow for any date to be imported

5. Select Check Import Information
6. When the verification is done a message will appear
a. “Ready for Import”
b. “Errors were found“
c. Some warning message are generated” – Select “OK”
Note: if warning messages are noted they will be in the space next to where fields were matched. The errors must be corrected prior to importing.

7. Select Import File

8. You will receive message the import has been completed, select “OK”
a. Select Merchant Vendor Merge to see if any new Vendors are to be set up
9. Run an Open Accounts Payable Report to verify the import
10. Before the checks/vouchers can be processed, they must be posted.
*This must be done by the employee who completed the import process
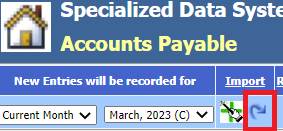
a. Select Accounts Payable | Disbursement/Accounts Payable Entry
b. A popup will appear, click “OK”
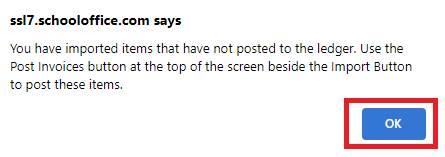
c. Click on the Post Invoices button
d. Another popup will appear, click “OK”
e. The final popup will appear, click “OK”
11. Proceed to the approval process, or continue to step 12
12. Print checks as usual