Revised: 4/2021
Before you proceed with this process, contact SDS Staff Support for assistance.
1. Select Administrative Utilities.
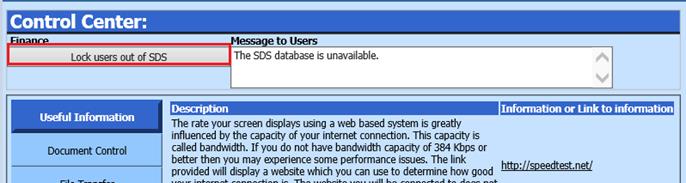
2. Select Control Center.
3. Select “Lock users out of SDS” before you begin a task. Once you are completed, remember to Unlock Users.
4. Select Toolbox.
5. Enter in the password supplied by SDS Support.
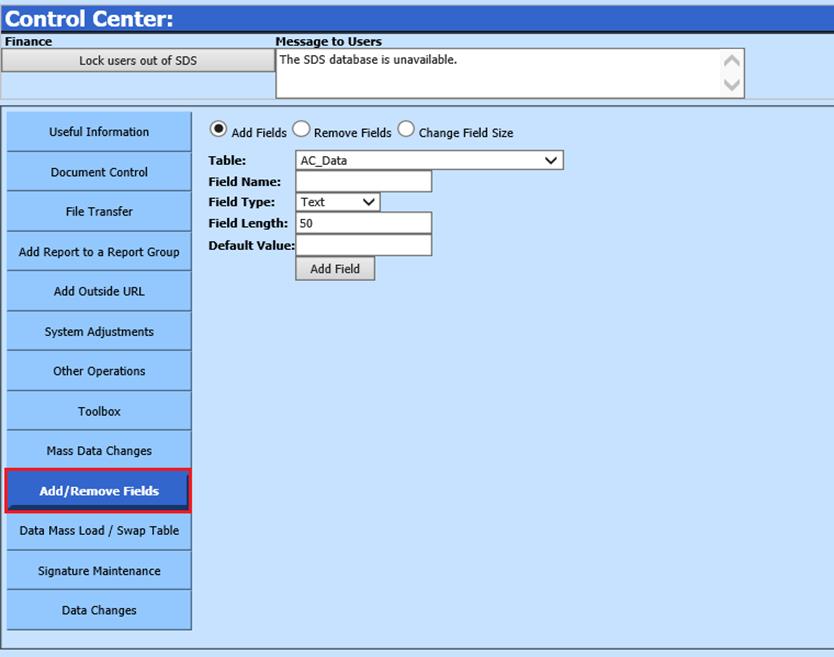
6. Select Add/Remove Fields.
To Add a Field
1. Select Add Fields.
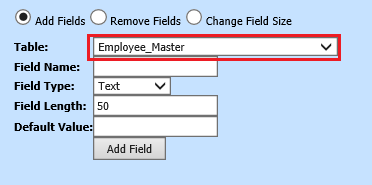
2. In the drop box next to Table, choose your table (i.e. employee_master)
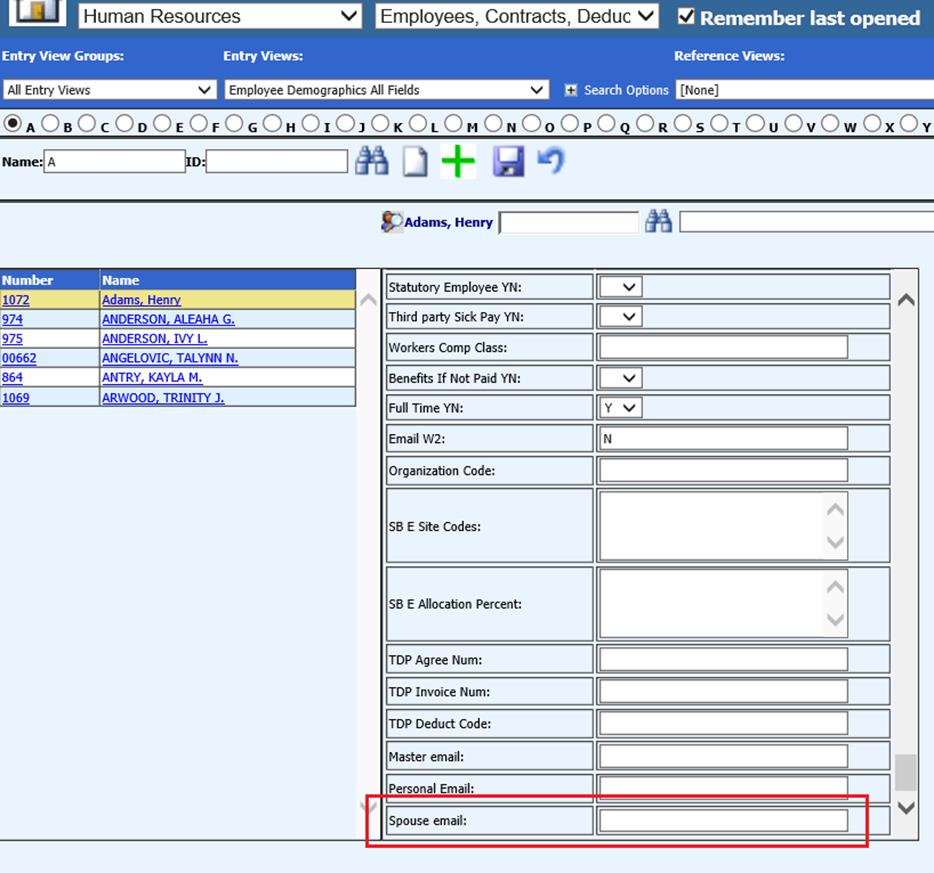
o Enter the field name (i.e. Spouse_email)
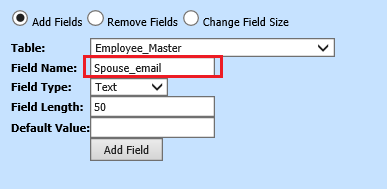
o Note: Field names may NOT have symbols (i.e. @$&^(+?) or spaces in the field name. Any spaces will be filled with an underscore (i.e. Spouse_email). Also do not name a field with photo, system, code, section or any type of SQL statement names. The system does allow the field name to start with a number.
3. Choose the Field Type (i.e. Text) from the drop box.
o Text: General purpose for entering data; use for numbers IF you do not need to perform mathematical functions on them (add/subtract)
o Memo: Use of this field gives you the ability to enter 64,000 characters BUT you cannot search on this field
o Number: Use of this type makes a number have a value so you can perform mathematical functions
o Double: Used for decimal numbers
o Currency: Used for fields that will contain monetary amounts
o DateTime: Used for fields that will contain date information
4. Enter a Default Value in the box, if you want the field to contain a default value as the field is added.
5. Select Add Field.
6. Select "Unlock User" box when finished.
7. The new fields are available for use in the table.
To Remove a Field
1. Select Remove Fields
2. In the drop box next to “Table”, choose your table (i.e. employee_master)
3. Select the field name (i.e. Retirement_Type)
4. Note: If you select a field that cannot be removed, the Remove Field From Table option will not be activated, you may not remove Standard fields.
5. Select the Remove Field from Table.

6. Select "Unlock User" box when finished.