
Revised: 8/2021
Activate Report Tree entry view
You must first activate the option to view the Finance Reports with the Report Tree.
1. Select Administrative Utilities
2. Select SDS Web Office Settings
3. Select Finance

4. Finance Reports – Report Tree: Change to “Y” to activate the setting
5. Select Save Changes

6. Log out and back in again for system changes to be in effect.
Utilizing the Report Tree view
1. Select Reports
2. Select Financial Reports
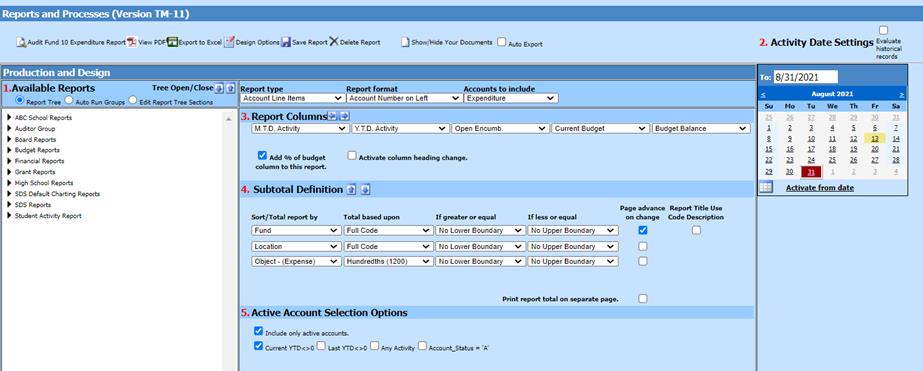
•Report Tree – This option will display the Report Tree view
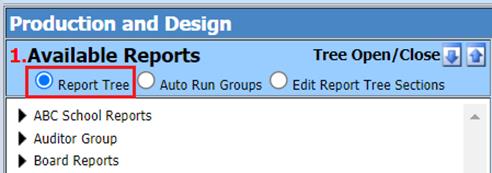
•Auto Run Groups – This option allows you to select and save up to seven reports to be previewed as a group at once.
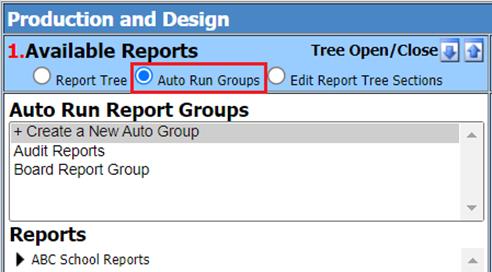
•Edit Report Tree Selections

•Tree Open/Close – Using the arrows, this option will open or close all Report Groups in the menu tree
Down arrow:
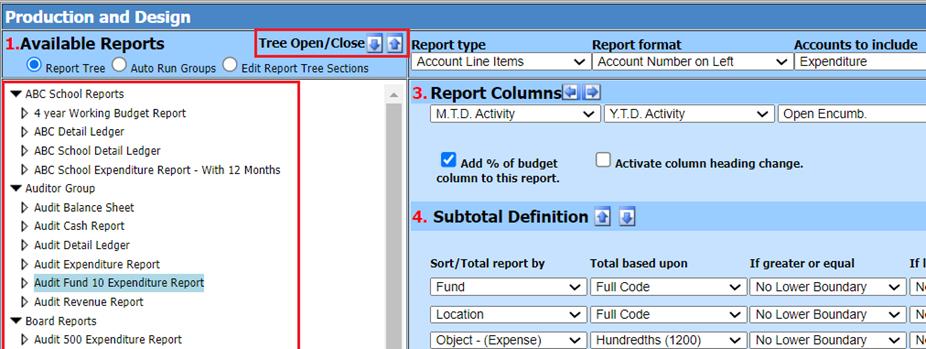
Up arrow:

To create custom Report Groups:
1. Select Edit Report Tree Selections
2. Select Display to determine the number of reports to work with

3. Group: Select the dropdown and choose one of the three options below to create the Report group desired:
a. Select group currently listed – to add the report to the predefined group and select save
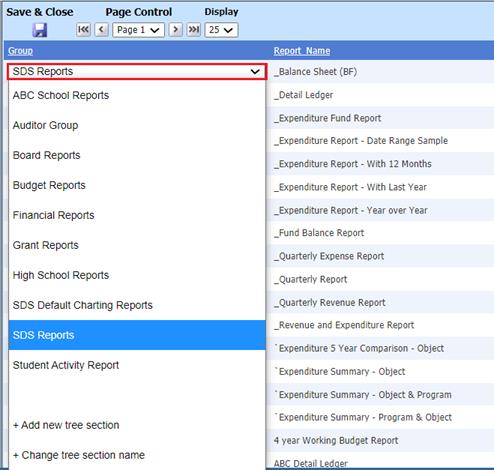
b. +Add new tree selection – to add a new group
i. Add New Report Name and select save

c. +Change tree selection name – to change a group name
i. Update Report Name and select save.
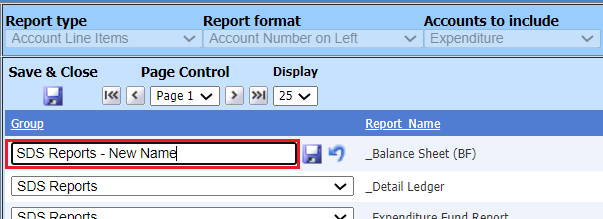
4. Select Save & Close to return to the Financial Reports view.