Revised: 4/2021
There are two ways to enter a new vendor:
Option 1: When entering an invoice in Accounts Payable
Option 2: Master File and Code Entry options in the Vendor Master
Option 1: From Accounts Payable
1. Select Accounts Payable then select Disbursements Accounts Payable Entry
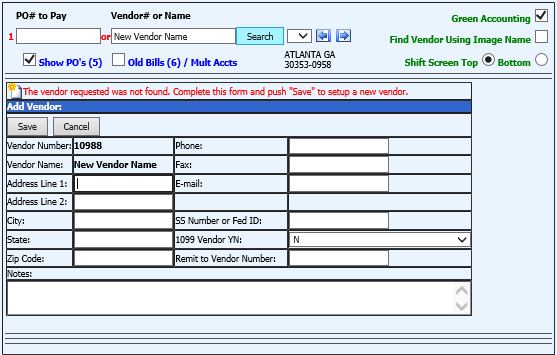
2. Under Vendor # or Name, enter the new Vendor’s full name
3. Select Search
4. If the Vendor is not in the system, a new entry view will display
a. Enter the required information for the new Vendor (address, phone, etc.)
b. Select Save
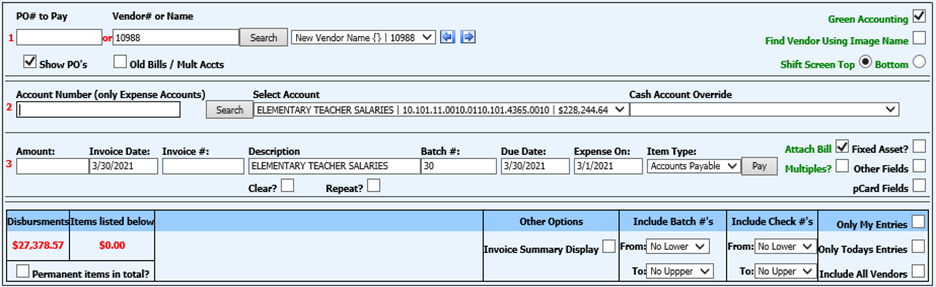
5. You can continue to enter the invoice for the new Vendor
Note: If you need to update the Vendor information entered, this will be completed in the Master File and Code Entry Options, Vendor (Basic Fields) entry view.
Option 2: From Master File and Code Entry Options
Please refer to the following link to set up the new vendor using Master File:
http://help.schooloffice.com/FinanceHelp/#!Documents/vendorbasicfields.htm