Revised: 4/2021
Note: The program can import either a .csv or an .xlsx file. The .xlsx file is the recommended file format because it does not drop leading zeros and it keeps long account numbers in place.
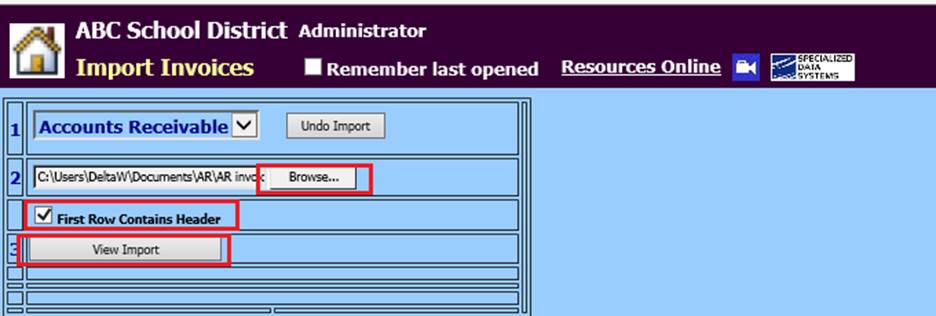
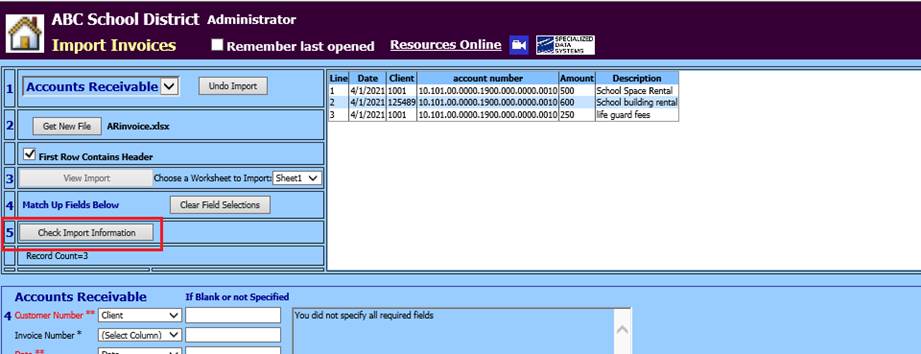
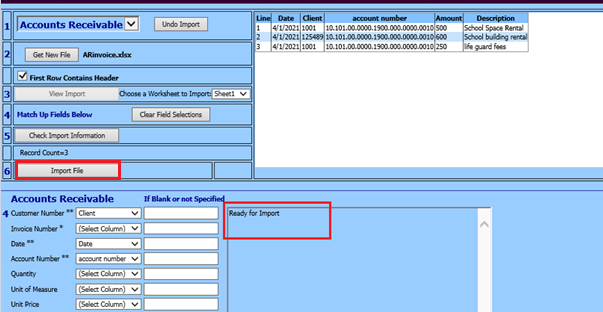
1. Select Accounts Receivable
2. Select Import Invoices
3. 2 Select “Browse”, to locate the import file on your workstation
4. First Row Contains Header: Select this option if the file’s first line has header information
5. 3 Select View Import
6. 4 Select the Fields to Match Up with the import file.
a. Fields with a single *, if not specified or included in your file will be assigned by the system.
b. Fields with a double **, are required fields.
§ If the file contains the required fields but the header is different or it was not specified in the drop downs, it will highlight with red lettering.
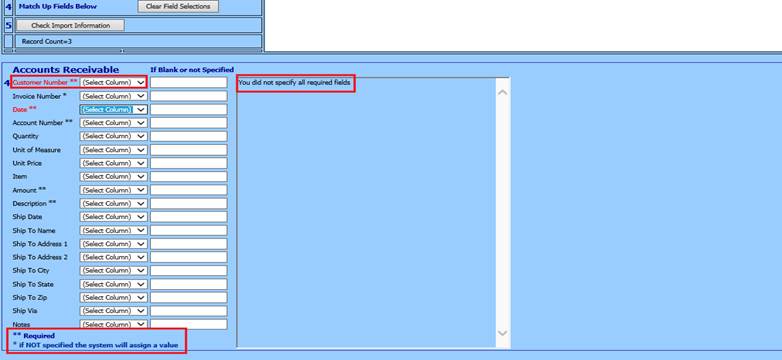
§ Select or specify fields from drop down menus
Note: the program will remember the last fields that were selected if they are in the file the next time you import.
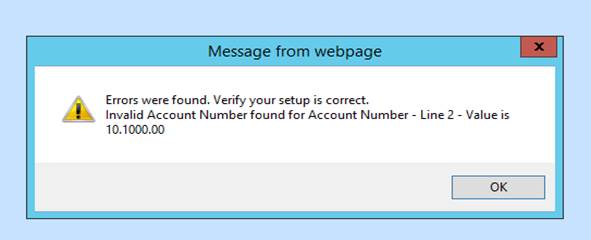
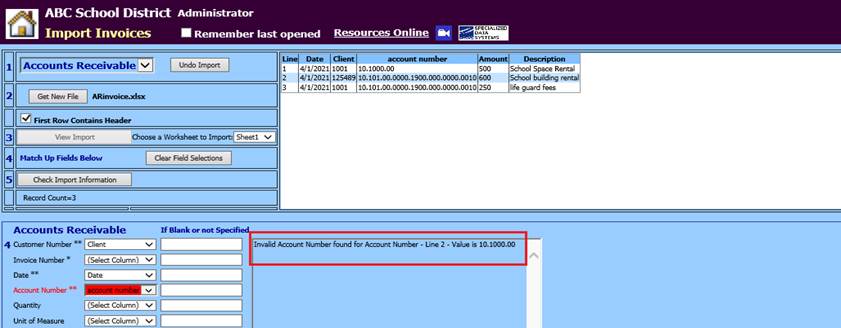
7. 5 Select Check the Import Information
•If there are errors, you will get a message and the errors will display in the textbox on the right. Notice “Record will be skipped” for missing/invalid customer numbers.
•It also checks for duplicate invoice numbers and those will be skipped as well.
•If the invoice number isn’t specified on the import it will auto fill the next available invoice number for each new customer in the file.
•You can specify a default date, account, and description for those items that are blank or not in the import file.
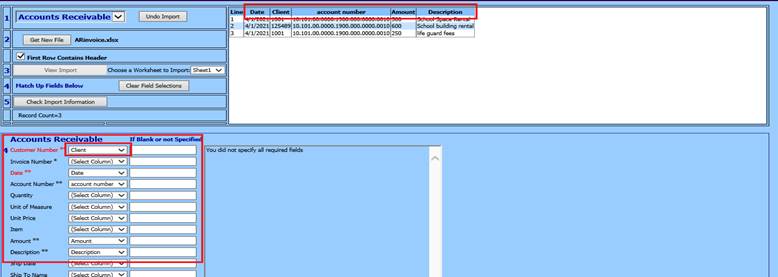
a. If corrections are needed, update and save new file on workstation.
b. Select “2 Get New File”
c. Select required fields
d. Check Import Information
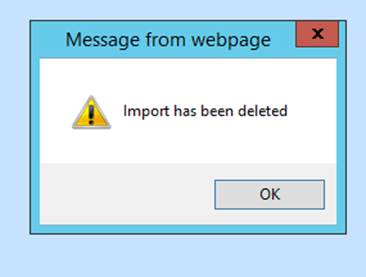
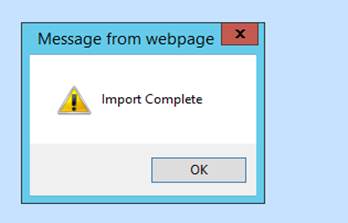
8. A message from webpage will display, select OK
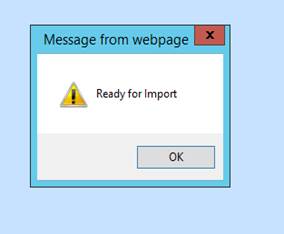
9. 6 If no changes are needed, Select Import file
10. A message from webpage will display, select OK
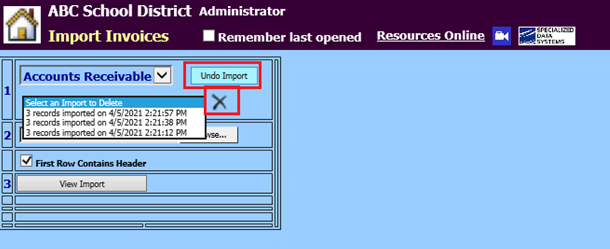
Undo Import
If the need to undo or remove the Import arises and they have not been made permanent, you can completed this process to remove the import.
1. Select Accounts Receivable
2. Select Import Invoice
3. Select Undo Imports
4. Select from the drop down selection the Import to remove
5. Select “X”
6. A message from webpage will display, select OK
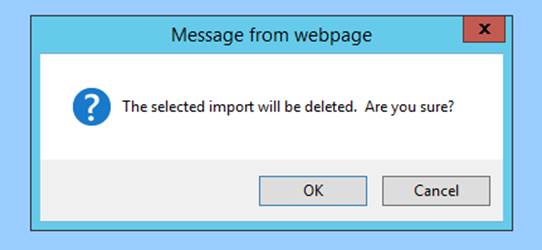
7. A message from webpage will display, select OK