Revised: 7/2020
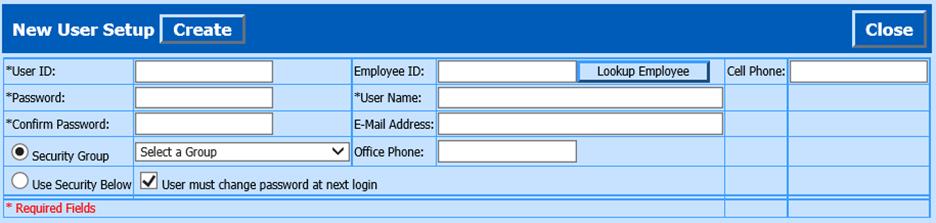
This area allows you to Create a New Security User. Select User: Enter the Employee ID and select the Lookup Employee button. Searches for ID and adds Name, E-mail and Office Phone information from Employee Demographics. Read Confirmation Message and continue.
To Add a New User: Security setup without using Employee Portal access:
1. Enter User ID: Enter less than 10 characters. Do NOT add a space into user ID, it must be continuous.
2. Enter Password: Enter 8 characters to include a special character (i.e. @,#,$,%) and number (i.e. 1,2,3)
3. Confirm Password: Enter in password above
4. Security Group Option: Select a Security Group from the dropdown to assign this User.
or
5. Use Security Below: Select a User with the same security access as your New User (This would need to be done before entering the New User area). The new User will have the same settings as the one you selected.
6. User must change password at next login: This prompts User to change password on initial login
7. Employee ID: Enter employee id, select Lookup Employee
8. User Name: Enter User full name
9. E-Mail address: This allows the user to log in with their User ID or with their e-mail address. No more ‘lost’ ID’s
10. Office Phone: Enter Office phone number for User
11. Cell Phone: Enter Cell phone number for User
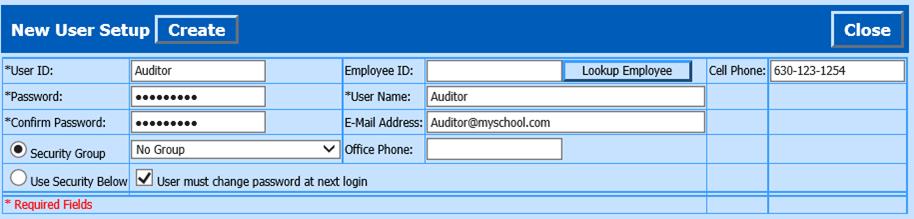
12. Select Create
13. Select Close to return to main page.
To Add New Group:
Using Security Groups allow you to organize user security access for various groups of employees. i.e. _Super, _Principal, _PO, etc.
1. Enter User ID: i.e. _Super (enter less than 10 characters, to include “_”). The Underscore in the first character designates it as a Group and will allow you to assign individual users to security group.
Note: The password options are ignored for Group creation.
2. Security Group Option: Select a Security Group from the dropdown to assign this User.
or
3. Use Security Below: Select a User with the same security access as your New User (This would need to be done before entering the New User area). The new User will have the same settings as the one you selected.
4. User Name: Enter Group ame: i.e. _Supervisor Group
5. Select Create
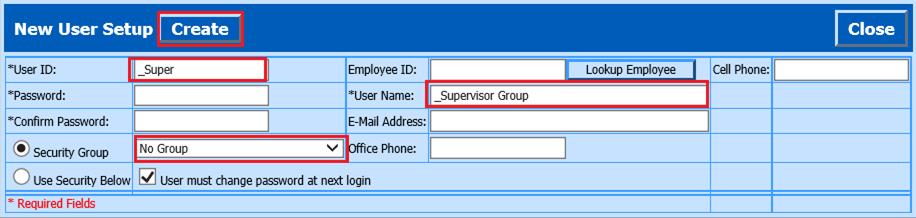
6. Select Close to return to main page