
Revised: 4/2021
Having a backup from just the “right” moment in time is a
critical part of making your work processes more efficient.
Timely backups should be made in ADDITION to nightly backups that are made by SDS (if we are hosting your data) or by your own tech staff if your data is hosted on your own servers.
Critical times for backups may include (but are not limited to): Prior to closing a Payroll, prior to closing a finance month, after entry of a large batch of bills, prior to transferring recurring entries, prior to doing a payroll/AP Void, prior to entering audit adjustments, prior to transferring payroll liabilities/transactions to finance, etc.
The Web System contains an easy way to make a quick backup of your database:
1. Select Administrative Utilities
2. Select Control Center
3. Select File Transfer
4. At the left side of the screen, the item Send Database to SDS should be selected (this process will not send the database to SDS, but will allow you to save the backup to the place you designate).
5. Click in the box Create Zip File Only
6. Enter the Users SDS login pasword sending file under “Your Login Password”
7. When creating a quick backup, you may ignore the file name. The zip file name will be ToSdsFile.zip
8. Enter “File Password”
1. File Password must be at least 6 characters long and include at least one letter, a number and a symbol. You will need the file password to extract your backup.
9. Select the box Send Database to SDS
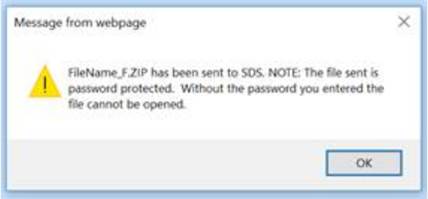
10. When complete, you will see the message: A file called ToSdsFile.zip is available to download to your PC.
11. Click OK, when process is completed
To Save/Rename the Backup File:
1. Select Save File to Workstation from the left side of the screen
2. Select the Drop Down box at the top, middle of the screen and select Zip File (*.zip)
3. Click on the word Select on your backup file (ToSDSFile.zip)
4. The file name will appear above the box in blue.

5. Right click on the file name and save the file to the designation of your choosing (a backup folder on your workstation, within your finance directory, or a media of your choosing).
6. Once the file is saved to its new location, you can right click on the file and rename the file to make it unique from other backup files. This name should also give some abbreviated information concerning the timing of that backup (Ex: 12010 Bill Entry).

7. This process will take a small amount of time, but the rewards for having a timely backup, when needed, are, as they say: Priceless!
Note: Remember you can setup a nightly compress and backup to make this processes automatic. See "Setup Nightly Compress and Backup" for instructions on this.