Revised 7/26/2021
Important Update: The Web Services program was updated in June 2021 and requires all users, that export/import data using Web Services to download a new distribution file and give to the person/vendor that is doing the exporting/importing.
What is a Web Service?
Automated Data
Transfer using Web Services is available for exporting data from the SDS
database. An import process is also available, although it is limited to
updating existing records in Student Demographics. A data import for
areas other than Student Demographics can be added to the service on
an individual basis. Also, the ability to directly import new records is
a capability that can be made available as needed.
What is a
web service? A web service is a program which gives a third-party or a remote
user the ability to directly access SDS Web Office data and extract or import
information. They do not need to login into your system or use
a browser. They will simply deploy a “zip” file with some controls and run
the program provided therein. The remote user can run the program manually or
automate the process using a scheduling program like Windows Task Scheduler.
Without a web service, an export for a third party or remote
user had to be automated by a technical staff member. The file was then
“pulled down” via FTP and/or copied to another location. After the copy, the
data could then be used or imported into another application. A three step
process.
With a web service, the third party or remote user simply adds
the web service to their system once. They then run our supplied program and the
data is sent to their location and is available for processing. A one
step process.
There are two types of web services, a direct connection
and a service which creates a file ready for processing. Anticipating that
third-party vendors might be reluctant to create a direct web service interface
to our system, there is an executable that has been written to make this process
much simpler for them. The program can be run from any Windows computer from any
place that has internet access to the client’s website. If a
third-party does wish to create a direct connection to our web service
we can provide them with the necessary information to do so.
So how
does this program make the process simpler? The third party or remote user can
run the program whenever needed to create the export files on their local
computer in the folder where the program resides. If an import is defined,
the program will also import csv file information in the folder and update the
appropriate data in the SDS database.
Currently, some third-party or
remote users are pulling exports from the ftp site at SDS – this is no longer
necessary if the Web Service option is used.
How to Set up the Web Service
to Import & Export Data
For exporting:
1 - Create a quick report and export it using the SQL option.
Refer to this Help Console document for instructions on creating a quick report
and exporting it using the SQL option. Setting
Reports Up to Run Overnight|topic=Setting Up Reports
to Run
Overnight;displayasbutton=true;document=Documents\Reports.docx
2 – Add the quick report to the web services user (Security -
Web Services)
3 – Download “Program Distribution Zip File” and give the file
to whoever needs to run the export
For importing:
1 – Use the standard import program, match up the fields with
the file you want to use – (the file name will need to be the same).
Basically,do a test import to define the import definition. This Help Console
link provides instructions on using the standard import program. Import Data From CSV or TXT Files|topic=Import Data from CSV or TXT
Files;displayasbutton=true;document=Documents\Administrative
Utilities.docx
2 – Add the import to the web services user (Security - Web
Services)
3 – Download the “Program Distribution Zip File”. This zip file
can then be given to whoever needs to run the import/update
Note: At any
time after you send the web service information to a third-party you want to
inactivate the automatic Import or Export capability of a user, simply access
security and remove their access for the export or import you want stopped. They
are then locked out.
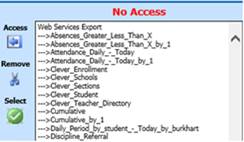
If you want to use an existing export (quick report), you
need to “own” the export. This is controlled in the user Application Access
Security area. The program will place any export that was previously created
into security with No Access. Any export or import you create in the future will
give you access, however, all other users will not have access to your
definitions. 
Where is web services
security?
This operates outside normal SDS user security, so
these users do not have access to the web office programs. 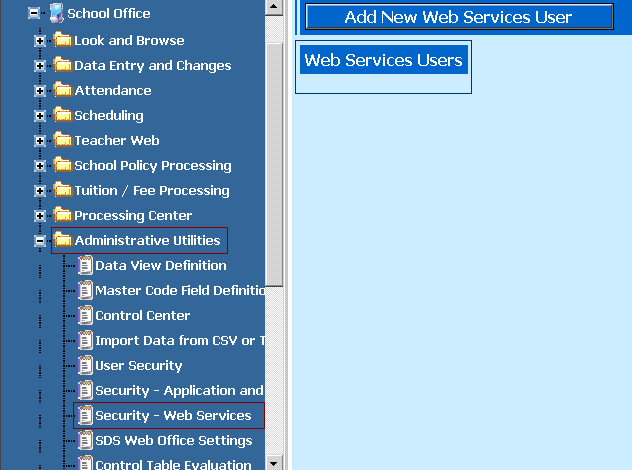
When you first enter the Web Services
Security area you will not have any Web Services Users. Push the “Add New Web
Services Users” and enter a user name, example “My Vendor”. 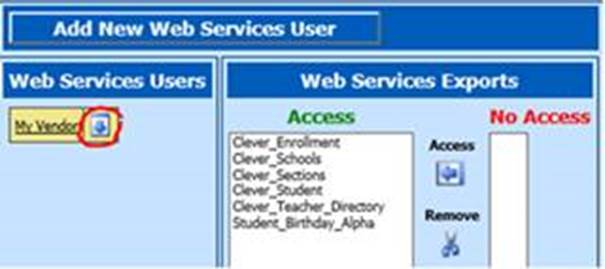
Then give the user access to the
appropriate exports/imports.
Download
the Program Distribution Zip File
If you right click the
download icon next to the users name (circled in the screen shot above), you
will be able to save the “Program Distribution Zip” file to your local computer.
This zip file contains several files needed to perform the export/import
process. After download give the saved distribution zip file to your Third Party
Vendor or Remote User.
Once the vendor/user has extracted the files from
the zip file into a directory on their Windows machine they simply run the batch
file provided. 
To perform subsequent exports simply
run the batch file as often as needed. The export process will create three
different formats. The three formats we create are XML, CSV, and TXT.

To import data, place a csv file
in the exact format as that used to define the data import originally in the
directory with the program on the Windows machine and run the batch file.
If desired, the user can automate the import or export process using a
scheduling program like Windows Task Scheduler.
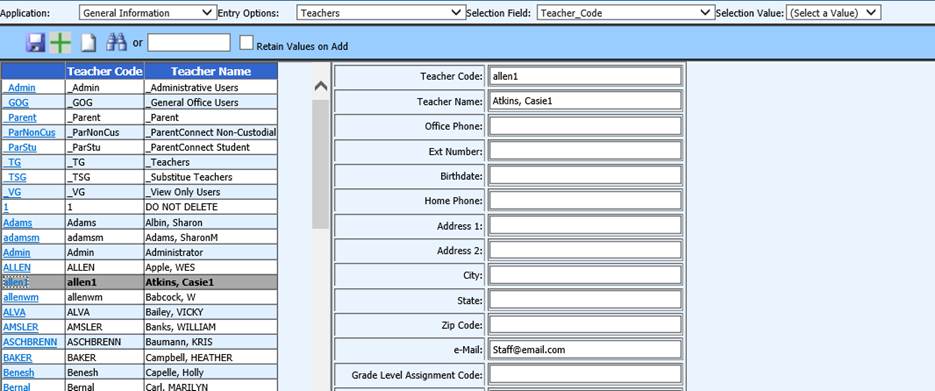
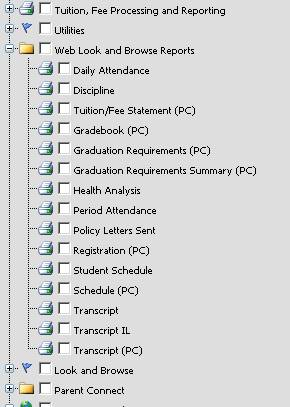
•Click on the "Save User Setup" button at the top of the page.
•Go to Look and Browse and run the report you just added.