Revised 1/21/2019
Under the direction of
support staff or programmers, it is sometimes necessary to mass load or swap
data into your database. Prior to using this area, it is very important
to confirm you have a current database backup.
Follow these steps to run this process.
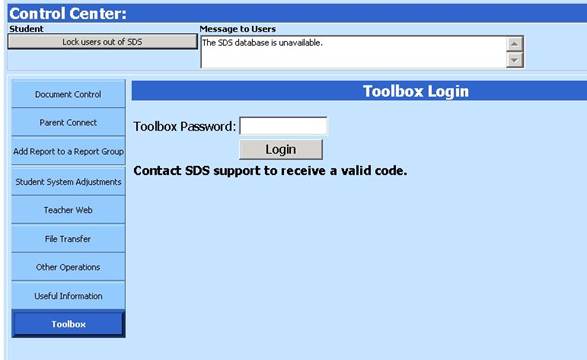
1. Select Administrative Utilities |Control Center |Toolbox.
2. Login with the word MASS.

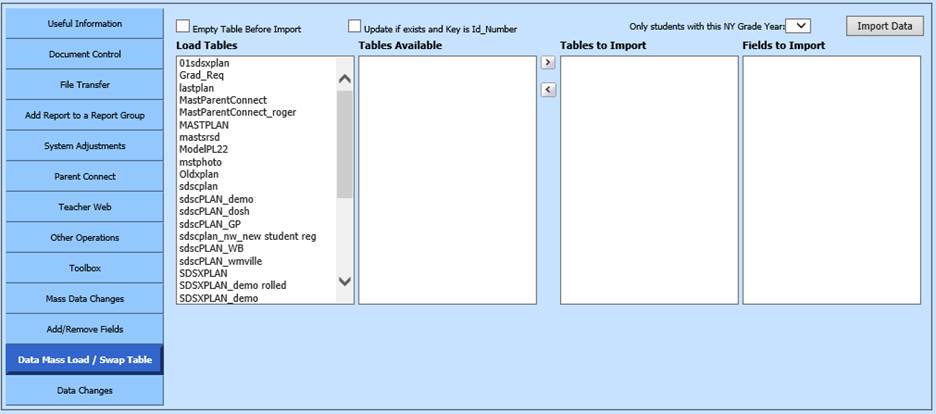
3. Once you have logged in, another set of buttons will display. Click on “Add Field Control.”

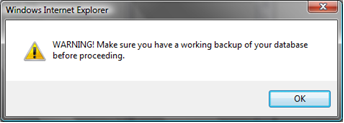
4. If the table in your current database should be emptied first before the new/replacement data is imported, then check the box for “Empty table before import.” You will receive the below message. Verify you have a working backup then click OK.

5. In the Load Tables box, click on the file name of the file or swaptable file with the new source data.
6. In the Tables Available box, click on the name of the table being imported into your current database.
7. Click
the  button to move the
table into the Tables to Import box.
8. Click once on the name of the table in the Tables to Import box. The fields in this table are listed in the rightmost box.
9. Highlight the field(s) to be imported. Hold your control key while clicking with the mouse to select multiple fields.
10. Click the Import Data button.
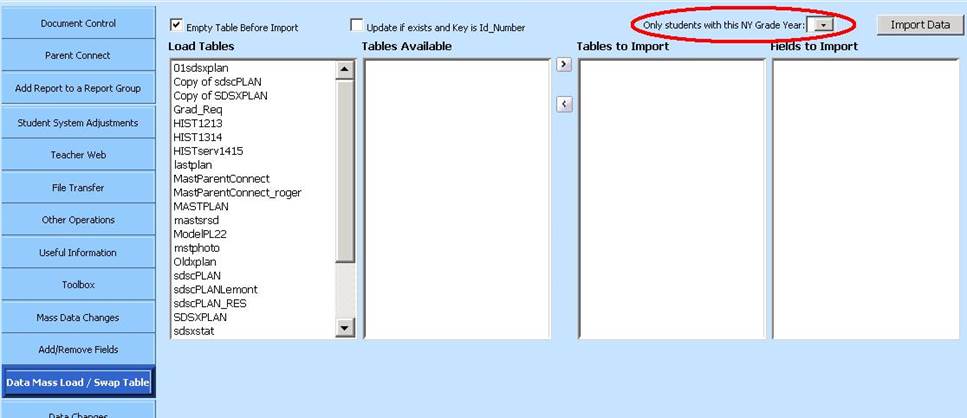
NOTE: If you wish to import data for only students transferring in for the next school year, make sure that the Demographics NY Grade Year field is filled in properly for those students in the source database. When doing the import process above, click the Only students with the NY Grade Year dropdown and choose the NY Grade Year value of the students you wish to import.
