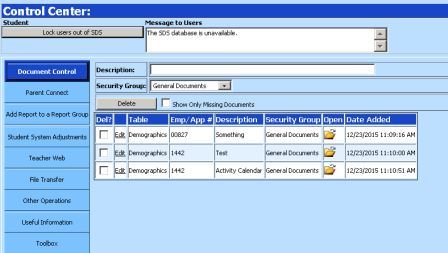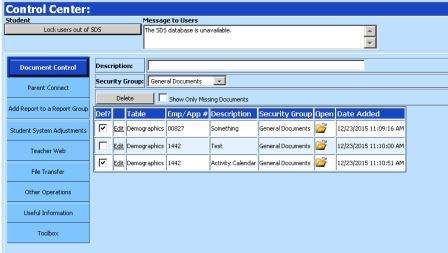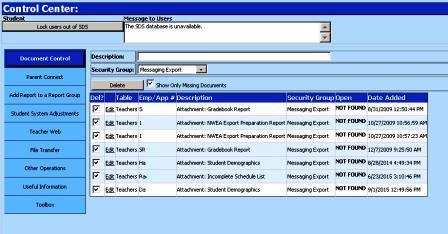
Delete Document/s
Documents can be added in
many areas of Web School Office by clicking on the Document Control icon
throughout the system, browsing for the document and saving it with the area of
the system you apply it to. The Document Control area in Administrative
Utilities |Control Center |Document Control allows you to click on the document
you would like to edit and change the descriptions, security group, save or
delete.
Edit a Document
Description
1. Enter Web School Office
2. Click on Administrative Utilities |Control Center |Document Control
3. Click on Edit next to the document you would like to edit.
4. The description will then be filled with the description of the document highlighted in yellow. Click in the description box if you would like to edit it and click on the dropdown box next to security groups if you would like to change the document's security group.
5. Click Save to save your changes.

Delete Document/s
1. Enter Web School Office.
2. Click on Administrative Utilities |Control Center |Document Control.
3. Place a check mark in the box next to the document /s you would like to delete.
4. Click Delete.

Show Only Missing Documents
To show
only missing documents proceed with the following:
1. Enter Web School Office.
2. Click on Administrative Utilities |Control Center |Document Control.
3. Place a check mark in the box next to “Show Only Missing Documents”.
4. Check marks are placed in the box to delete the missing documents. Hit Delete to delete them so they no longer display.
