Added 5/7/2018
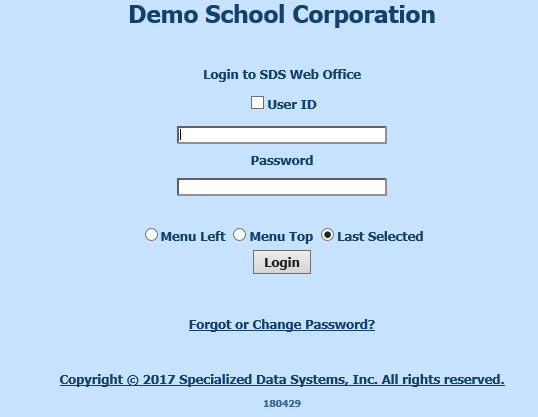
1. Enter User ID
•By placing a check mark in the “User ID” option, the system will remember the “ID” of this workstation for 8 hours or until it is changed to another “ID”.
2. Enter Password
3. Select Menu Left, Menu Top, or Last Selected
•Menu Left will display the program menu on the left the same as when using the traditional login screen.
•Menu Top will display the program menu in dropdown boxes at the top of the screen.
•Last Selected will remember the selection made on your last login.
4. Click Login
5. View SDS Web Office
6. Click on Logout once done in the system.
Forgot or Change Password
The Forgot or Change Password option allows a user to select and answer security questions. Once these questions and answers are set up, the user can access the Forgot or Change Password option to answer the security questions and then create a new password in the event they have forgotten their password or would like to change their password.
To set up the security questions:
1. Enter in User ID
2. Enter Password
3. Click on Forgot or Change Password
4. The following message will display
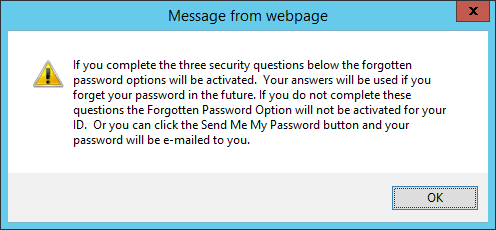 |
5. Click OK on the message
6. This screen will display
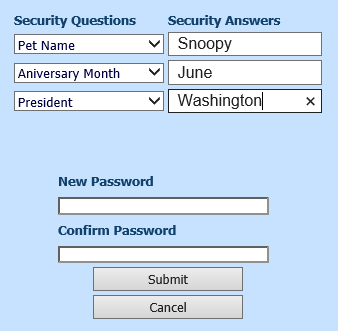
7. Select and answer the 3 security questions
8. Enter New Password (Must be at least 6 characters {i.e. new001})
9. Re-enter new password in Confirm Password
10. Click Submit
11. This screen will display
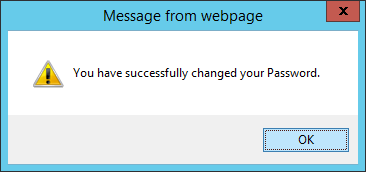
12. Click OK
13. Login the system with your new password
To retrieve or change password:
1. Enter in User ID
2. Enter Password
3. Click on Forgot or Change Password
4. This screen will display
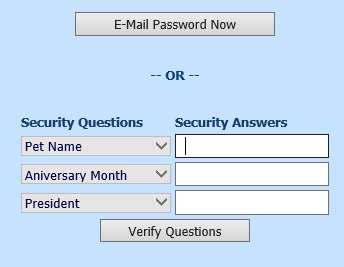
5. Click the E-Mail Password Now button to have your password e-mailed to you. Your e-mail address must be entered on your user id in Web School Office User Security in order to use this option.
6. 
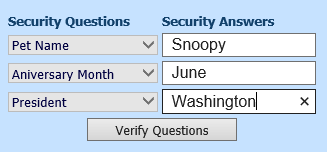
7. Answer the three questions and click Verify (See Figure 1 below)
8. The curser will then be placed in the New Password box
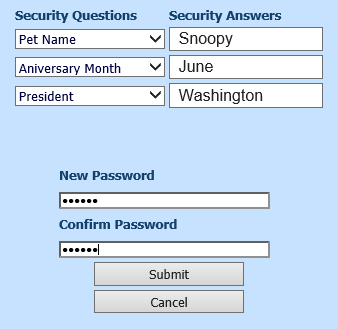
9. Enter New Password (Must be at least 6 characters {i.e. new1})
10. Enter Confirm Password (i.e. new001)
11. Click Submit (See Figure 2 below)
12. The following message will display
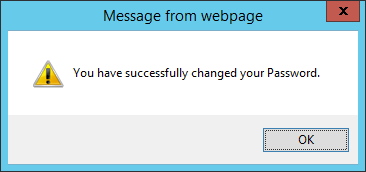
13. Click Ok.
14. Login the system with your new password.
Figure 1 Figure 2
Build Date
A “Build Date” is displayed on the Web School Office login screen. This is the date the system was last updated. (i.e. 180429 = yearmonthdate = 04/29/18). It appears at the bottom of the screen shot above.
Program Menu
After logging in, the
following options will be available on the screen when the Top Menu option is
selected on the login screen. For details on the Left Menu program screen
click the button below and scroll down to Program Menu.

1. Available Applications – Select the program application you would like to work in.
2. Available Processing Options – Select the processing option you would like to access.
3. Remember Last Opened – Place a check mark in this option to have the program remember the last application and processing option you had open when you logged out and return to those options when logging back in.
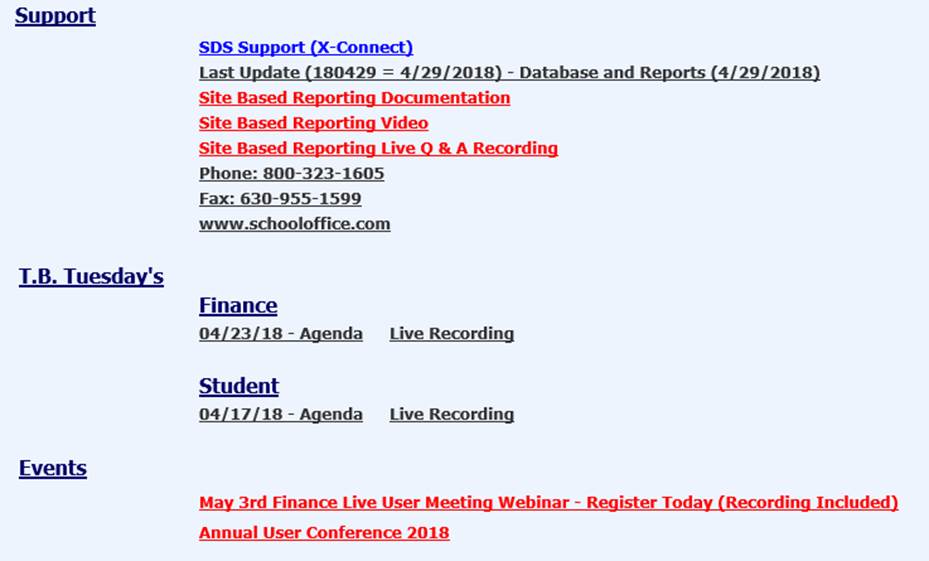
4. Resources Online – Click to access the SDS Resources Online screen. This screen provides support, webinar, and events information.
5. Specialized Data Systems logo – Click to access the Specialized Data Systems web page.
6. Logout – Click to logout of the program.
Navigate
Available Applications and Processing Options
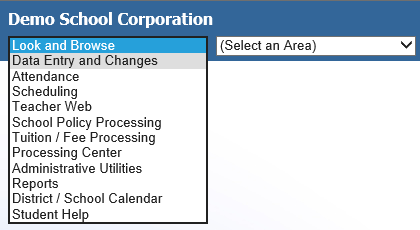
The Available Applications dropdown above displays the application options available to the user. These are dependent on the user’s security setup. Select the application you would like to work in.
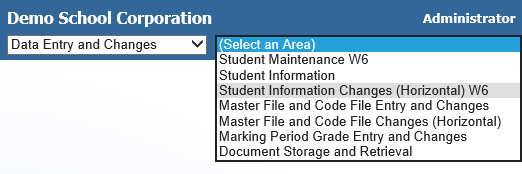
After making a selection in the Available Applications dropdown, the Available Processing Options dropdown will display the processing options for that application that are available to the user. These are dependent on the user’s security setup. Select the processing option you would like to work in.
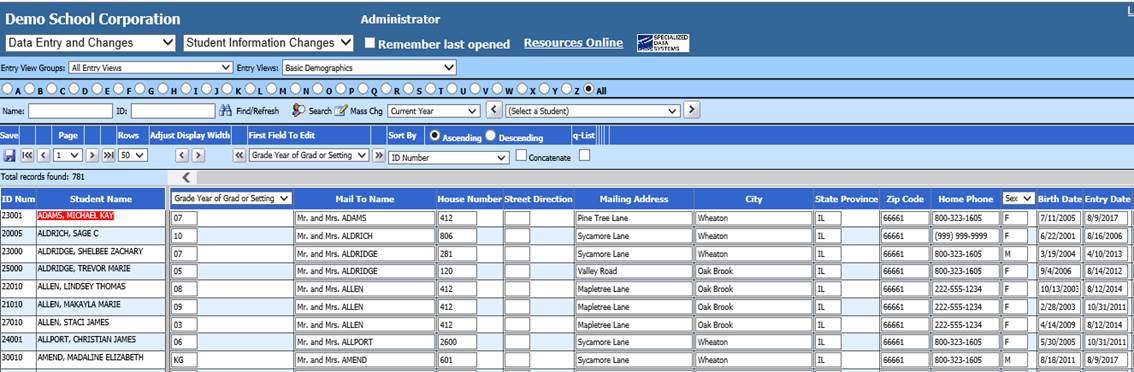
The selected processing option will display below the menu dropdowns. Note that the top menu option allows for more data to be displayed on the screen.