Revised: 4/9/2018
The Look and Browse area allows you to look at student records for almost all areas of the system without having the option to change the information. This is an excellent area for users who should have the option to see information without the ability to change the information on students. The security administrator has the ability to customize the view so that teachers/supervisors only see the students they are responsible for, such as coaches having the ability to view the members of their teams or perhaps coordinators being able to see just those students with an IEP for example. The security can also be set so that individuals can see the entire district, in the case of the superintendent or a building principal for example. The Look and Browse area also allows you to search and sort to quickly find the information you are looking for and running reports for individual students from this area is fast and easy.
Below is an overview of using the Look and Browse screen.
Search for a Student
There are two methods to search for a student.
1. Type all or a portion of the
student’s name or ID Number in the search bar and click the Search
button.
2. Select the alphabet button that the
student’s last name begins with. 
Students whose last name begins with that letter display on the left.
 |
Click on the student in the list you wish to select.
Navigating the Student List
If desired, the navigation bar above the student list can be used to navigate the list of students displayed.

 Displays the first page of
students.
Displays the first page of
students.
 Moves to the previous page of
students.
Moves to the previous page of
students.
 Moves to the previous
student.
Moves to the previous
student.
 Displays the page list.
 Moves to the next student.
 Moves to the next page of
students.
Moves to the next page of
students.
 Displays the last page of
students.
Displays the last page of
students.
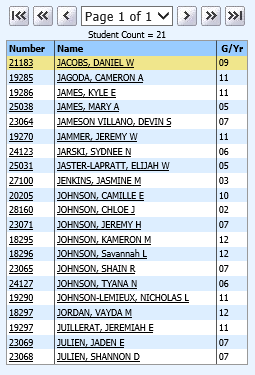
Student Count
Student Count displays above the list of students. This is a count of the students meeting the current search criteria. Default search criteria is current year active students meaning students with Current Year Active=0 and no Exit Date.
Run a Report

To run a report, select a report from the dropdown on the right called Select a Report to Print.
Tech Note: The reports that run from Look and Browse are named par_*.rpt rather than the swb_*.rpt reports. This is because the par_*.rpt are meant for quick launch (parameters are removed). If you would like to run a custom report from this area, name it as loc_*_*.rpt or parc*.rpt (i.e. parcschedule.rpt). * = name of particular report.
Click to  preview.
Click  to exit the report
preview.
to exit the report
preview.
Selection and Display Options

For Selection and Display Options detail,
Displaying Views
Click the check boxes on the views you wish to display. The views listed are based on the user’s security setup.

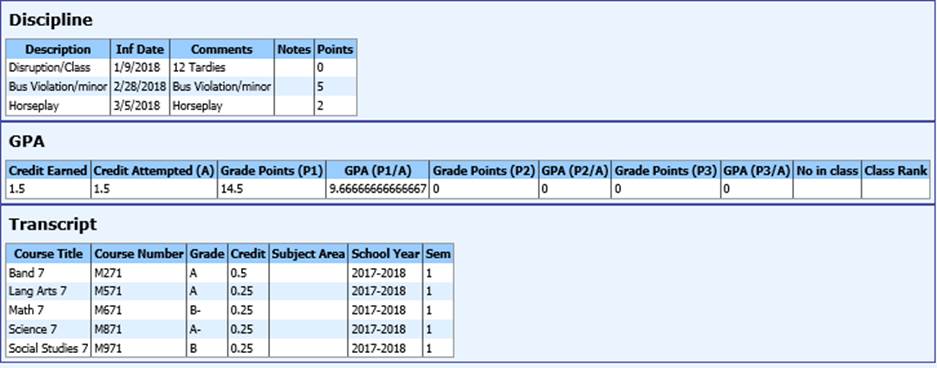
Data views will display for the items checked.
To remove a view, uncheck the corresponding check box at the top of the screen.
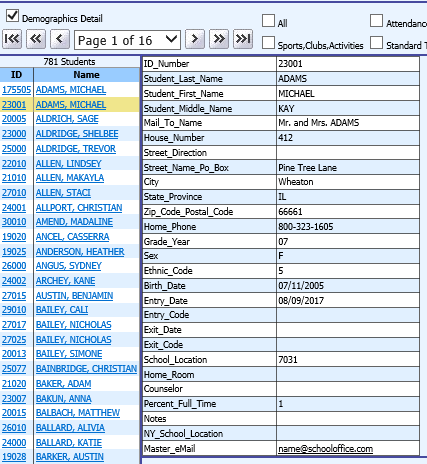
Check marking the Demographics Detail box will display basic demographic information for the selected student in vertical format.