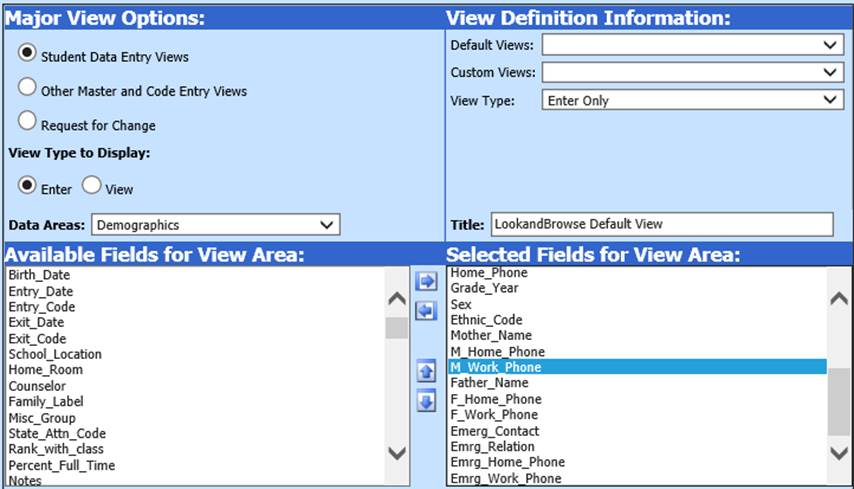
The result will be a demographics view, in Look and Browse, which has the fields that you added to the Look and Browse Default View.
In the Look and Browse area, the demographic tab defaults to basic standard fields in the demographic table. If you would like to customize the fields and incorporate some additional fields that is easy to do. These fields will appear in the look and browse area of both School Office and Teacher Web.
1. Go to Administrative utilities, from the main menu
2. Choose Data View Definition
3. Choose Demographics in the Data Areas drop down box. This will load all of the fields from the demographics table into the box titled “Available Fields for View Area”.
4. Move the fields that you would like displayed on Parent Connects demographic tab over into the box titled “Selected Fields for View Area”, by highlighting and using the arrow buttons..
5. Re-name the view, LookandBrowse Default View, in the “Title” box. Click Save

The result
will be a demographics view, in Look and Browse, which has the fields that you
added to the Look and Browse Default View.