
Added 4/5/2018
In Data Entry & Changes|Student Information Changes (Horizontal), the navigation toolbar provides options for displaying and moving through data records.
Each of the toolbar options are described below.
Save

The Save button saves changes made to records on the current page.
Page
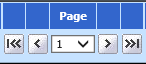
The Page tools allow for navigating through the pages of records.
 Displays the first
page of records and saves changes.
Displays the first
page of records and saves changes.
 Moves to the
previous page of records and saves changes.
Moves to the
previous page of records and saves changes.
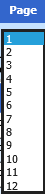 Displays the
page list and saves changes when another page is selected.
Displays the
page list and saves changes when another page is selected.
 Moves to the next
page of records and saves changes.
Moves to the next
page of records and saves changes.
 Displays the last
page of records and saves changes.
Displays the last
page of records and saves changes.
Rows
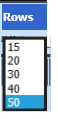
Select to display 15, 20, 30, 40 or 50 rows per page.
Adjust Display Width
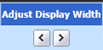
Adjusts the data entry area width of the screen.
 Decreases data entry
area width.
Decreases data entry
area width.
 Increases data
entry area width.
Increases data
entry area width.
First Field to Edit
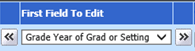
From the dropdown, select the first field to display after the splitter bar for editing.
 Moves display left 19
fields and saves changes.
Moves display left 19
fields and saves changes.
 Moves display right
19 fields and saves changes.
Moves display right
19 fields and saves changes.
Sort by
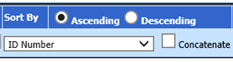
These options allow sorting the displayed records in either ascending or descending order on selected fields.
1. Choose Ascending or Descending.
2. Select a field.
3. If you wish to sort on additional fields, check mark the Concatenate check box to build on the previous sort.
q-list
Check marking this option will display a list of students for the current search definition on the left side of the screen. This feature is mainly used in data entry views that may contain multiple records for the same student such as Activities, Discipline, and Transcript Detail. Clicking on a student in the list will change the display to show only the records for the selected student.
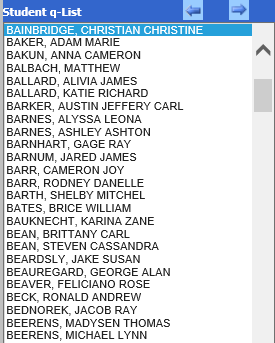
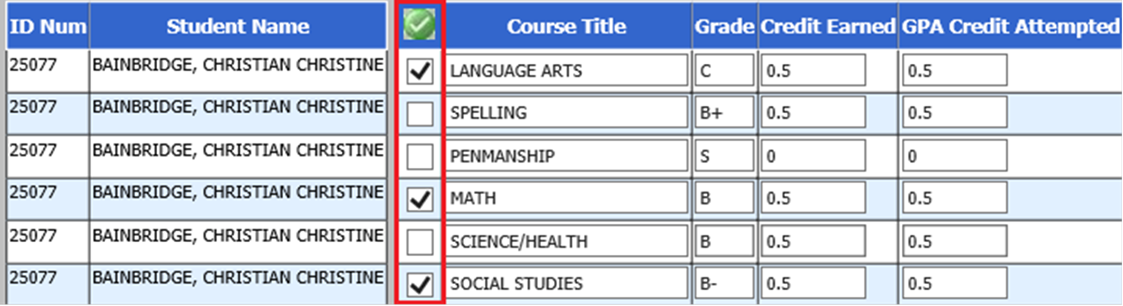
For example, in the screenshot below of the Transcript Detail data entry view, the q-list was opened and Christian Bainbridge was selected in the q-list on the left. The screen displays only Christian’s 18 transcript detail records.
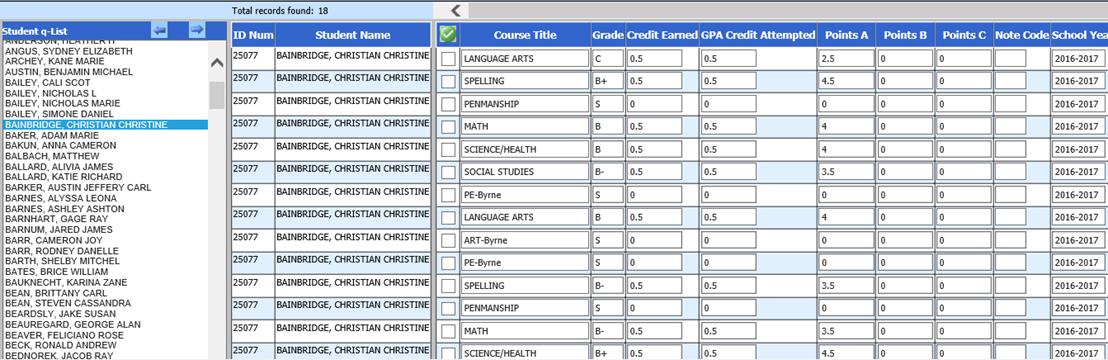
This makes is easy to review and edit this student’s transcript detail records.
Selecting the q-list option also opens Delete, Undo, Add & Auto Add options.

Delete

To delete records,
check mark the check box on the record(s) you wish to delete. To check
mark all the displayed records, click the  button at the top of
the check mark column.
button at the top of
the check mark column.
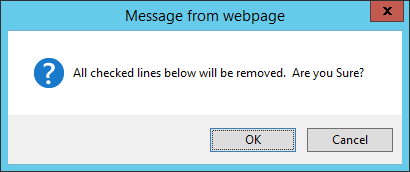
Click the
 button to
delete the selected records. Read the warning message and click OK to
continue or Cancel.
button to
delete the selected records. Read the warning message and click OK to
continue or Cancel.
Undo Option

The Undo Option allows the restoration of deleted records in the selected data entry view for up to 30 days. Clicking the Undo Option will display these dropdown boxes:
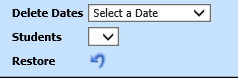
Click the Delete Dates dropdown and select the date the records you wish to restore were deleted.
From the Students dropdown, select the record you would like to restore or choose to undo all deletions for the selected date.
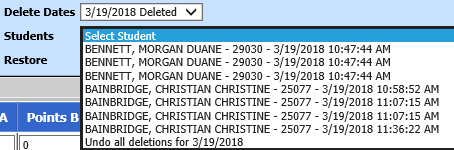
If there are multiple records for a student you wish to restore, restore each one individually if you don’t wish to undo all deletions for the date selected.
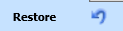
Click the Restore button to restore the selected record.
Add

The add option allows the addition of a blank data record to the selected data entry view. Enter information into the data fields on the blank record and save.
Auto Add

If the Auto add if no records found option is checked, when a student is selected from the q-list on the left, a blank record will be added if no records exist for that student in the current data entry view. This is helpful when adding records to multiple students. For example, this could be used when adding activities to students. Select a student, the blank record will be added. You can then edit it and save and select the next student.
Editing Data
Data can be edited by using the Tab key on the keyboard to move horizontally across the screen entering data. The ↓ and ↑ keys on the keyboard can be used to move vertically through a column entering data. Entering data in a cell and pressing the Enter key on the keyboard will move the cursor down to the next cell in the column.
The arrow buttons at the bottom of the screen can be used to save changes and move to the next or previous page.

The Save button should be clicked to save the changes on the page before exiting the horizontal data entry screen or selecting a different data entry view.