Revised 10/10/2018
This utility is used to assign a different combination for all lockers in a school location. Many schools change the combination assigned to lockers each year so that students won’t be able to unlock lockers they had in a prior year. This process can be run for only lockers in defined areas of the school building, if desired. It can also be run only for un-assigned lockers, if preferred.
1. Click on Processing Center |Locker Assignment.
2. Select school location from the dropdown at the top of the screen.
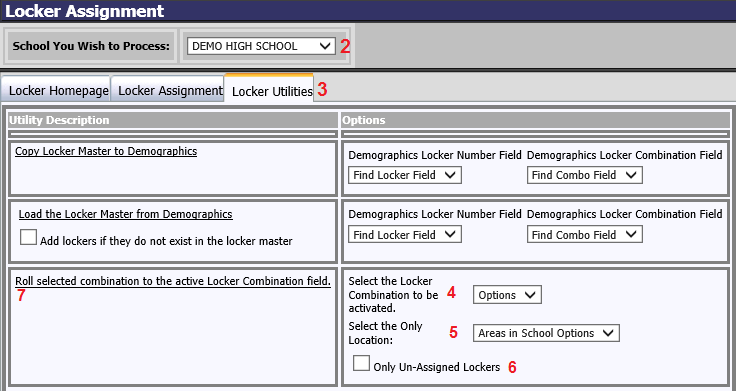
3. Click on the Locker Utilities tab.
4. From the dropdown on the right side "Select the locker combination to be activated", select the locker combination (1-9) from the Locker Master that you wish to assign for the school year.
5. From the dropdown on the right side "Select the Only Location", select a location area to be processed. This option might be used in a situation where the students keep the same locker all 4 years of high school. When they graduate, the senior lockers, each pre-assigned with the same location area, can be changed to a new combination.
a. The dropdown options are the Location Areas that were assigned to each locker when the locker master was created.
6. If you only wish to change the locker combinations on lockers that are not assigned to students, check mark the “Only Un-Assigned Lockers” check box. That way if any students are remaining assigned to the same locker as the prior year, their locker combination would not have to change with the other lockers.
7. Click on “Roll selected combination to the active Locker Combination field”.