 to add a menu or count item.
 Revised 10/2/2018
Once Meal and Miscellaneous Groups have been defined in Step 1 the next step is to add Meal and Miscellaneous Count Items. These are the items for which you want teachers to enter counts.
1. Click on Data Entry and Changes |Master File and Code Entry and Changes
2. Select Meal Codes from the Application dropdown; select Meal Codes and Miscellaneous Count Items from the Entry Options dropdown selections.
3. Click to add a menu or count item.
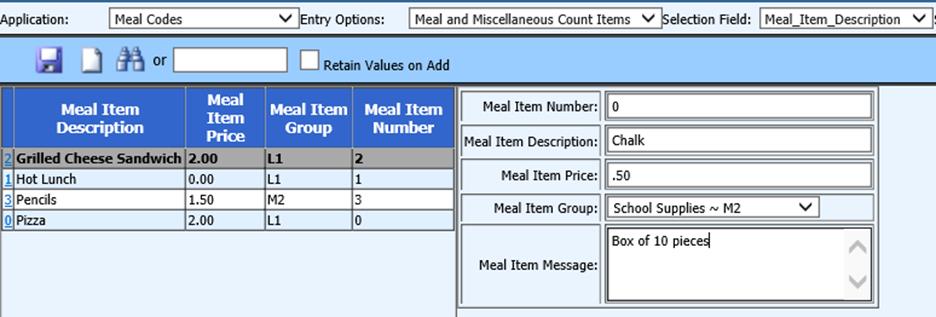
4. In the boxes on the right enter the following:
o Meal Item Number: Leave blank as it will be automatically assigned when you save your item.
o Meal Item Description: This is the description teachers will see in Teacher Web. (i.e. Water)
o Meal Item Price: Enter if applicable; for example, class elections may not have a price or water may be 1.25.
o Meal Item Group: Choose from available groups, as entered in step 1 above. (i.e. Breakfast – Main Course ~ B1)
o Meal Item Message: Enter any additional information about this item.
o NOTE: Items can be defined in various ways. For example, as a specific lunch item like pizza or a general category like hot lunch.
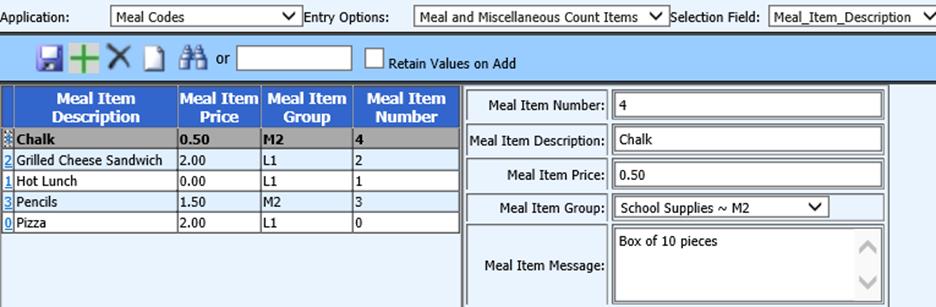
5. Click  to save.
o After the meal item was saved, see below how the item number 4 was assigned to the item automatically.
6. To edit any item from the main list, click
on that item number in the list to the left, make the modification to that item
to the right and then click to save.
7. To delete any item from the main list,
click on that item number in the list to the left, and then click  at the top of the page.
The rest of the Meal and Miscellaneous Count Planner steps for setup and use can be accessed via the buttons below.