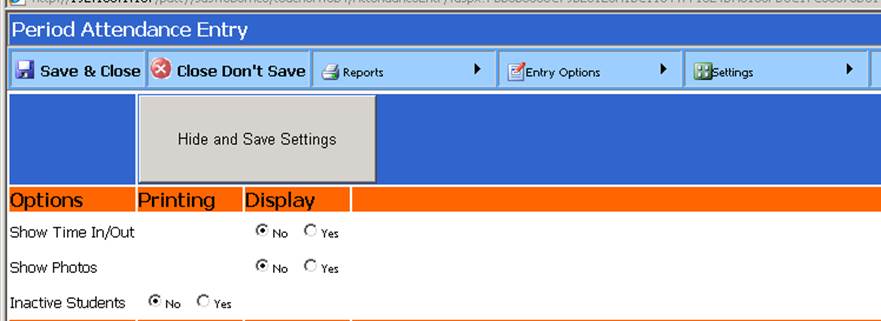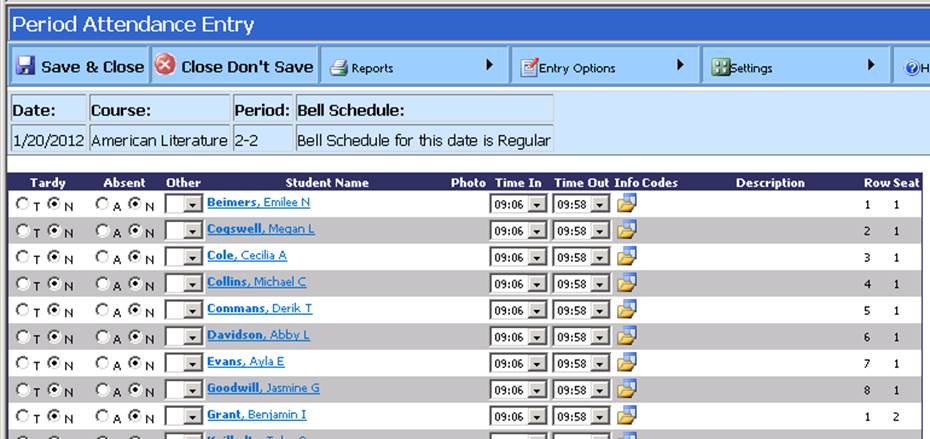
When you select a class in which to take attendance, a new window opens and the class list is displayed. The tools needed to adjust settings, run reports and save or simply close your screen are listed at the top of the new window as a toolbar.
Save and Close
Saves/reports your attendance to the office and closes the window
Close Don’t Save
Closes the attendance entry window. Entries you may have made will not be saved or reported to the office.
Reports
Provides a list of the reports available for the attendance area.
Available Reports
Period Attendance: Clicking this report opens an options screen which will ask for a date range for the report. Click the calendar icon by the Start of Range box and click on the date to begin reporting or type the date in YYYY/MM/DD format. Click the calendar icon by the End of Range box and select the last date you want reported. Click the OK button at the bottom. A list of the students in this class who have been absent for the date range selected will display along with the date of the absence(s), the reason of the absence, total number of absences for the student for the date range selected and the home address/phone number information for the student(s).
Class List: Clicking this report will immediately open the class list for this class which includes the course name/period offered, student ID, name, grade, gender and the total number of students in the class will be listed at the bottom of the report
Seating Chart: Clicking this report will immediately open the seating chart report. Note: if the seating chart has not been created no report will generate.
Entry Options
The option to take attendance by a list or by seating chart can be made by hovering over the Entry Options button then clicking on Class List Option or Seating Chart Option. Note that if the Seating Chart has not been created clicking on the Seating Chart Option will open the screen where your seating chart can be created.
Settings
Adjust basic attendance settings

The Yes/No buttons here will determine the format and content of your display screen.
Options are:
