Revised: 4/2021
To report “Account Detail
(Historical Format) report in Look and Browse:
1. Select Look and Browse
2. Select Finance Look and Browse
3. Select Accounts
4. After navigating to the information you would like to report, select the drop arrow under Select a Report to Print
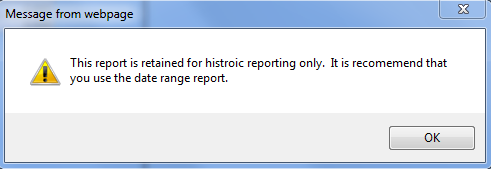
5. Select Account Detail (Historical Format) and read the display message.


6. Select Preview  to display
your report or to print PDF, select
Load Activity into an Excel Spreadsheet
1. Select the Excel button  and a
report will be created for you to export into Excel.
2. When the report is created an Open Worksheet
 button replace
the Excel button. Select the Open Worksheet
  button and
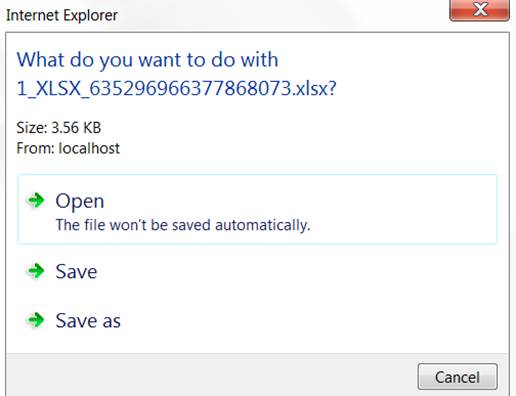
select from the following options to Open, Save or Save As.

3. Select Open to display. The report will display in Excel. You may view, adjust, and save the report.
4. Select Save, the report will save in a download area, the box below will display. From here you may open the document, open the download folder or view your download and save.

5. Save as, navigate to the location of your choice, name and save your document.
6. Save as, navigate to the location of your choice, name and save your document.