Revised: 4/2021
1. Select Payroll Processing
2. Select Direct Deposit
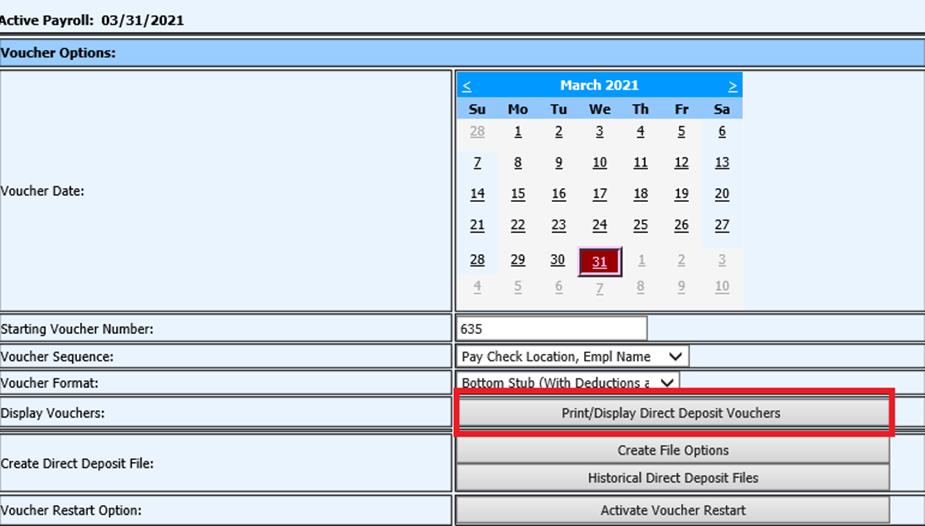
3. Select the Date that should print on the vouchers from the calendar
4. Verify the Starting Voucher Number, make changes, if needed.
5. Select the Voucher Sequence
6. Select the Voucher Format
7. Select Print/Display Direct Deposit Vouchers
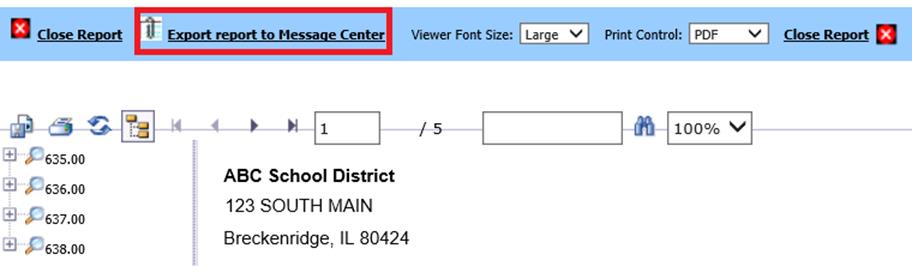
8. From this screen Print, Export to Message Center, etc. direct deposit vouchers.
o Select Export report to Message Center
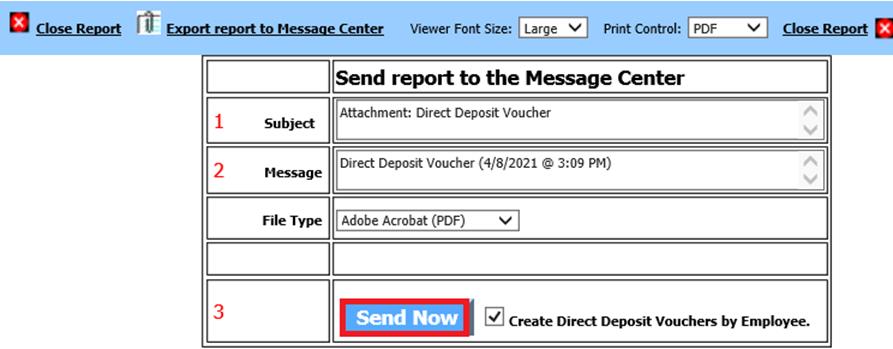
o Select “Send Now” This will prepare the Payroll Vouchers for sending to Employees.
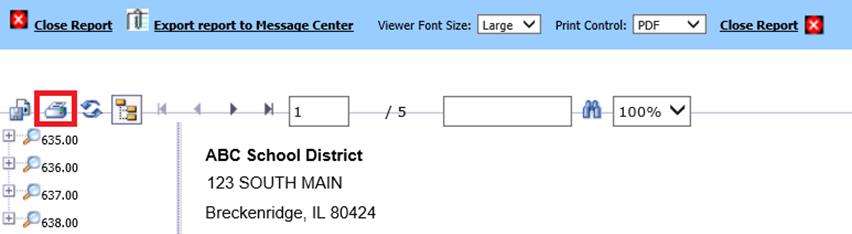
o Select the Printer Icon to print the vouchers
9. Select Create File Options to create Direct Deposit File for the bank.

10. Select the Effective Date for this payroll to be paid.
11. Select Create File. This will create a Direct Deposit File for the bank. (You can select Standard or Savings)
o “Standard (NACHA)” will create the entry to the organizations account with the appropriate code for a Checking Account. (27)
o “Savings (NACHA)” will create the entry to the organizations account with the appropriate code for a Savings Account. (37)
12. Your Direct Deposit File will appear at the top of the screen with applicable payroll date.

13. DO NOT OPEN THE FILE. Right click on the Direct Deposit File and select Save As. Navigate, using the drop down, and save the file to the location you desire.
14. If you need to see a previous Direct Deposit File then select the Historical Direct Deposit File button.
Note: Verify the ACH setting with each payroll. Once these fields are completed for the first Direct Deposit, the system will retain the following information for future payrolls:

•Output Transfer File Name: The name of the direct deposit file that will be created. The system default is deposit.txt
•File Type: Select from the drop down the file type your bank requires. Standard (NACHA), Saving (NACHA), CSV or Citibank.
•District Name: The school name is the default and is retrieved from the District Data master.
•District Federal ID Number: Enter your school’s Federal ID number.
•Originating DFI: This information is provided by your bank..
•Destination – ACH Receiving Point Name: Your school’s bank’s name.
•Destination-ACH Receiving Point Name: This information is provided by your bank.
•Immediate Destination Sending Point ID#+Check Digit: This information is provided by your bank.
•Bank Account Number: Your school’s bank account number. Check with your bank if you do not know this number.
•Bank Routing Number: Your school’s bank routing number. Check with your bank if you do not know this number.
•District Offset Trace Number: This information is provided by your bank. Some banks request that it be left blank
•Override District Name for Direct Deposit: Normally not used, however if your school name exceeds the characters allowed by ACH standards, you may enter an abbreviated version here.
•District Discretionary Data: The default is ‘Direct Deposit.’ This can be changed to comply with the bank's required information.
•Special Header Record if Required by Bank: This information is provided by your bank. Some banks request that it be left blank.
•File ID Modifier: This information is provided by your bank. Some banks request that it be left blank.
•No District Offset Record: Verify with your bank if they wish you to send the file with:
o Check to Activate the Offset Record
o Use the Employee Number in the file instead of SSN
o If your Federal ID has 10 Digits, make sure you have this selected.
•Pre-Note Only for All Employees: This option will create a pre-note for all employees with “Y” in the Pay field in the Employee Demographics and completed Direct Deposit information. All direct deposit accounts will be included and treated as inactive. No funds will be reported using this option.
•File is Upper/Lower Case: Employee name is listed Upper and Lower case
•No File Blocking (999 records at end of file): This turns off the file blocking so it doesn’t add the 999 record at the end of the file. The file’s blocking factor is ‘10’, as indicated in positions 38-39 of the File Header ‘1’ record. Every 10 records are a block. If the number of records within the file is not a multiple of 10, the remainder of the block must be nine filled. The total number of records in your file must be evenly divisibly by 10.