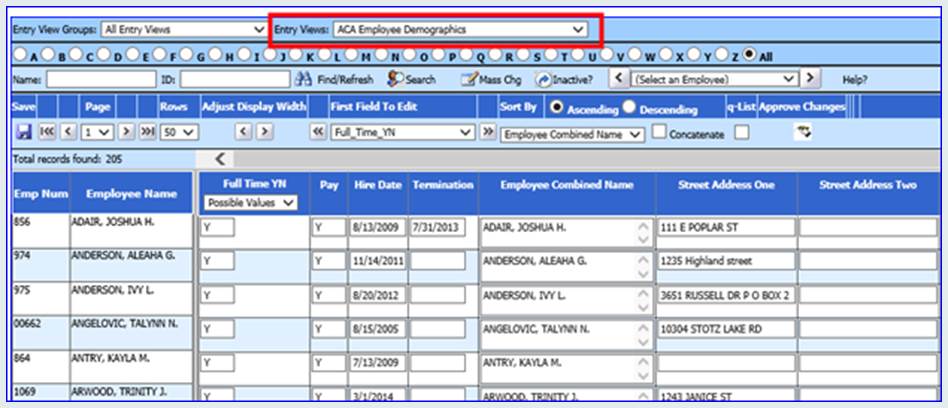

In this data entry view, review each employee’s address. Review all records to ensure these fields are populated on all employees. If any changes need to be made, this is the entry view to change it in. New in 2023: On the 1095-C, Part II now requires the employee’s age as of January 1. This will be computed based on their birthdate, so make sure all employees have birthdates entered.
1. Select Human Resources
2. Select Employee Horizontal Data Changes
3. Select the dropdown next to Entry Views and scroll up to select “ACA Employee Demographics”
4. Verify the Employee’s Name and Address. Make sure there is a zip code on each record as well.
NOTE: You may need to select “Inactive?” in the upper center portion of the screen to display employees who have been marked with an “N” in the field “Pay”
An employee may have “Pay” = N but still have “ACA Current Status” = A in Employee Offer and Coverage View.
5. Change your employee records and click Save.
TIP:
a. Keep in mind you can use the Search button and Mass Chg button on this screen to find a specific group of employees or make a mass change.
