Revised: 4/2021
The Messaging Center
provides a simple and secure means to communicate with your staff, giving you
the ability to send messages with attached documents to staff members (i.e.
Board Reports, Direct Deposits, Resumes, Reviews, Grants, SDS Report etc.). This
program is ALL SDS and does not rely on an email program. An "Alert Message Bar"
automatically appears in the bottom left corner of your display when a message
is ready to be read by the recipient. After the message is handled, the alert is
removed automatically.
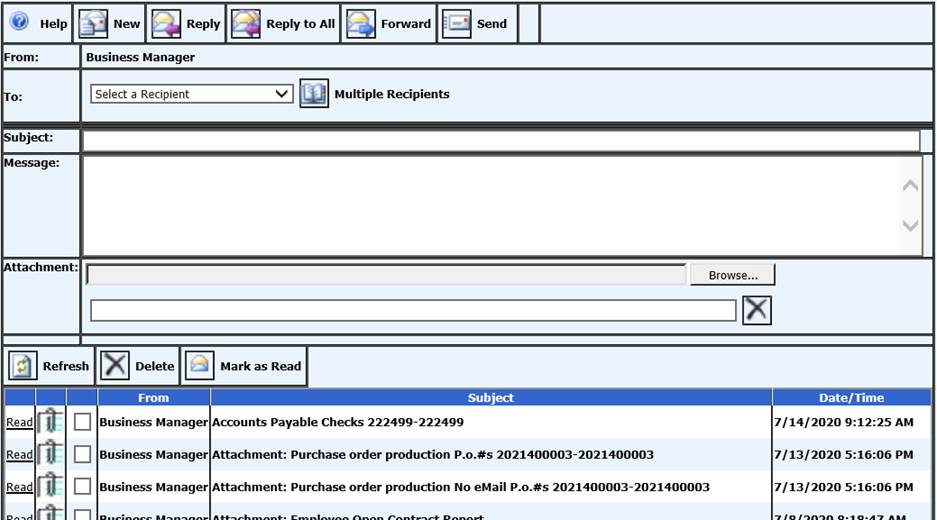
Access the Message Center
1. Select Look and Browse
2. Select Message Center
3. When a user receives the message “You have a new message” will display at the bottom of the screen. By selecting the link “You have a new message” the message center will automatically display.
Screen Elements
•Help: Displays Instructions
•New: Select to clear the message area to allow for the entry of a new message
•Reply: Select to respond to the sender of the message you are reading
•Reply to All: Select to respond to the sender and all other recipients of the message you are reading.
•Send: Select to Deliver/Send your message to the individual(s) you have selected
• Multiple Recipients: Select recipient(s) by
group or individual(s) in a group
Multiple Recipients: Select recipient(s) by
group or individual(s) in a group
•Refresh: Look for new messages
•Delete: Permanently remove all messages marked for deletion (del?)
•Mark as Read: Un-bold the message and places message at the bottom of the display.
•Read: Displays message
• Paperclip: Displays attachment
Send a Message
1. Select a Message Area from an Application
2. Click in the radio button Finance Office Message Area. This selection option will display only if you have both Web Finance Office and Web Student Office.
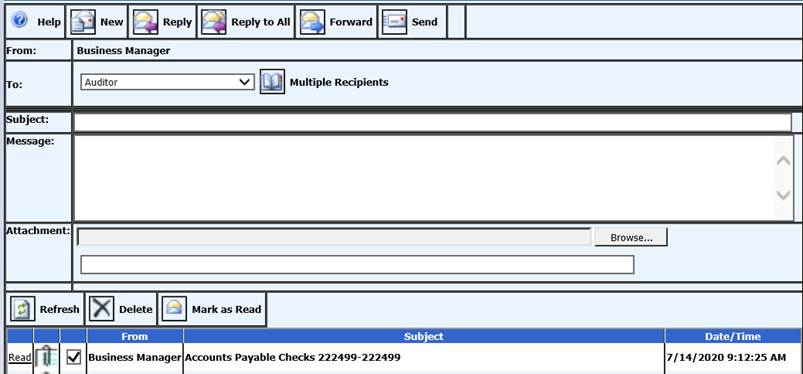
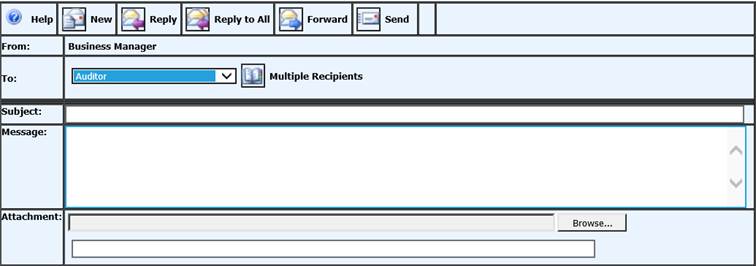
3. To: Click on the dropdown next to “To:” then select the name of the person you wish to send a message to.
4. Subject: Enter a subject
5. Message: Enter your message
6. Attachment: Select Browse to navigate to a document to include with your message.
7. Select Send
8. Read a Message and Attachment
§ Select the message to “Read”
§ Select the paperclip to “View”

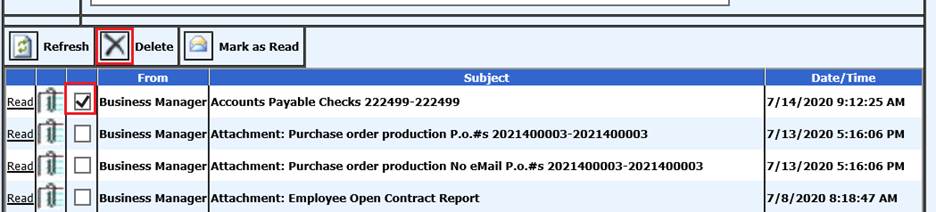
9. Delete a Message
10. After a message has been “Read” a check box will display.
11. Check  and Select
 to
delete.
to
delete.
Note for Purchase Order
System Users
For districts using the
SDS Finance Purchase Order System an additional message may display. If
you have purchase orders in the system in need of authorization, the message
“You have purchase orders to authorize” will display at the bottom of your
screen. If you select the link “You have purchase orders to authorize” the
purchase order authorization screen will display.