Revised: 5/2021
1. Select General Ledger Processing
2. Select Ledger Transaction Entry
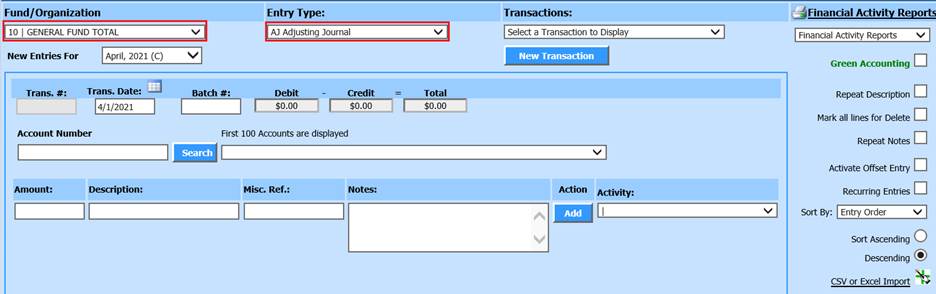
3. Select the Fund
4. Select Entry Type
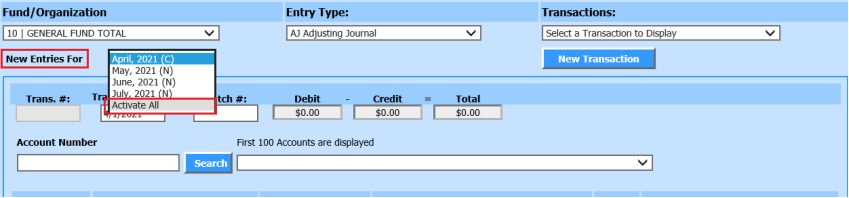
5. New Entries will be recorded for: Select the Month/Year dropdown selection and choose “Activate All”
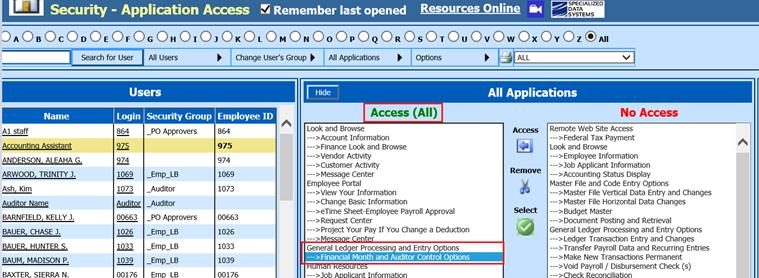
Note: If you do not have access to the Application “Finance Month and Auditor Control Options”, you will not have this “Activate All” option. Contact your district’s system administrator to update your security restrictions in Security – Application Access:
6. Select the month to process a journal entry for. After selecting the prior month, the first drop down will automatically change to “Prior Month”

•(P): Month/Year selector is Prior Month
•(C): Month/Year selector is Current Month
•(N): Month/Year selector is Next Month
7. Select New Transaction. The Trans. #: field will be filled in with the next Transaction number.
8. Transaction date: Confirm transaction date; manually change this date to reflect the transaction, if needed.

9. Enter Transaction entry
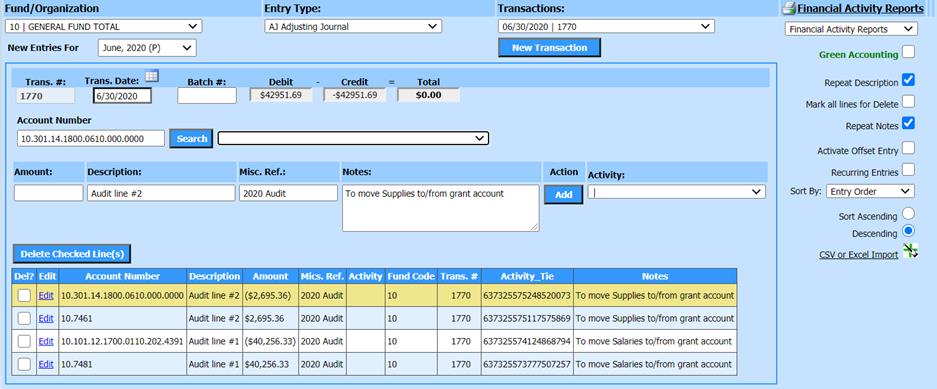
o Use Repeat Description, to copy Desctiption entered in additional entries
o Use Repeat Notes, to copy Notes entered in additional entries
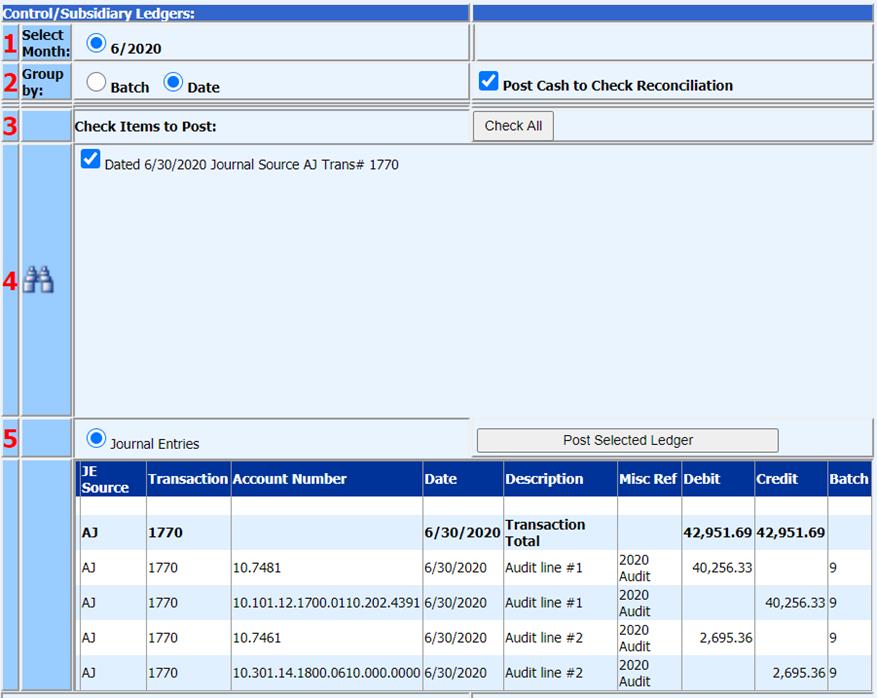
10. Print Transaction entry for verification

11. Make Transaction Entry permanent:
a. From the Menu tree, under General Ledger Processing and Entry Options
b. Select Make New Transactions Permanent