
Revised: 4/2021
Finance Look and Browse, allows
you to search for vendors and the detail activity associated with the vendor.
The detail activity for the vendor may also be viewed for prior year(s). This
area is a way to quickly access all areas associated with the vendor; Accounts
Payable, Purchase Orders and any Documents added for that vendor. Sorting and
filtering allows to you see what you need quickly. Users can also print a report
regarding the vendor for reference.
To view vendor information:
1. Open Look and Browse
2. Select Finance Look and Browse
3. Select the Vendors button
To search for a Vendor(s) with the Option Menu:
1. Find by Vendor; enter partial or full vendor number. When entering a partial vendor number, a list will display of all available options with the criteria you entered.
2. By Description; enter a partial or full vendor description. When entering a partial vendor description, a list will display of all available options with the criteria you entered.
3. Find By PO or Invoice; Select PO or Invoice; enter a partial or full PO or Invoice number. When entering a partial PO or invoice number a list will display of all available options with the criteria you entered. Select the Only Open Purchase Orders box if applicable.
4. Select the Search box or Enter.
5. A total of 50 items per page will display, if you have more than 50 accounts matching your criteria, you will have navigation arrows and a Page number drop down.


6. Select Vendor to
view. 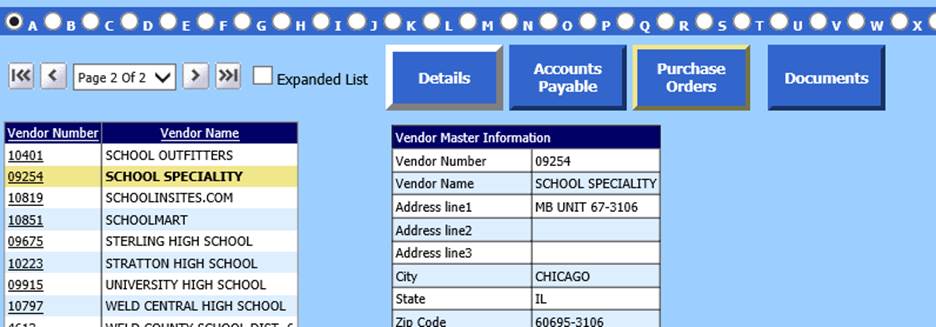
An information grid will
display.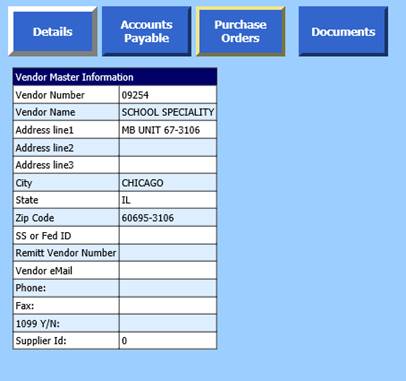
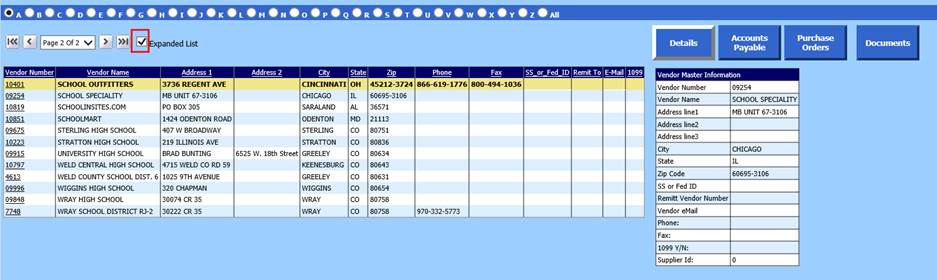
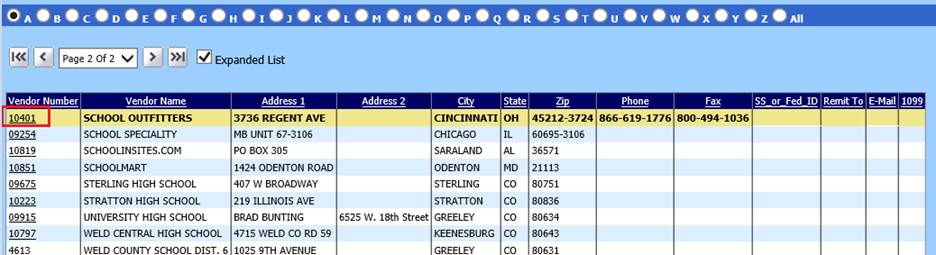
7. Select Expanded List to Display your
information in a horizontal grid view. This is especially useful when searching
partial account numbers for a list of all multiple accounts with detail
information on each account. Sorting is accomplished by selecting a title in the
grid; Example: select Vendor Name to view Vendors
alphabetically.
8. Searching may also be done alphabetically by using the alpha search. Select the first letter of the vendor name, all vendors beginning with that letter will display. Select All to Display All accounts.
9. Select the Vendor Number to display a specific vendor.
10. Selection Options may be used to narrow your search.
11. To activate, select the dropdown next to Selection Options

12. Select the search options to display. Select Show All Vendors to clear sort.
13. After your vendor is selected, any associated areas will be bold to select detail information. Here the vendor has Accounts Payable and Purchase Orders. Select the button to display detail you would like to view, IE Purchase Orders.

14. The Purchase Orders will display and may be sorted by selecting a title in the grid. Select Show Approval History? to display.

Reporting
1. To print a report, after selecting a vendor, select Vendor Activity Detail (Date Range) report from the Select a Report to Print dropdown.

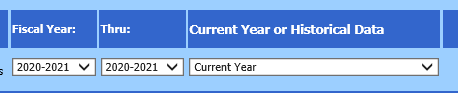
2. Select Fiscal Year: Thru: Select a range of Years to display using Current Year data.
3. Select Current Year or Historical Data. Select Current Year for active data reporting. This will include adjustments made to accounts after your Fiscal Close. Select a Historical Database from the list to reflect your select Fiscal
4. Close, no adjustments made at a later date will display.
5. Select your date range using the Calendars or entering in m/d/yyyy format.
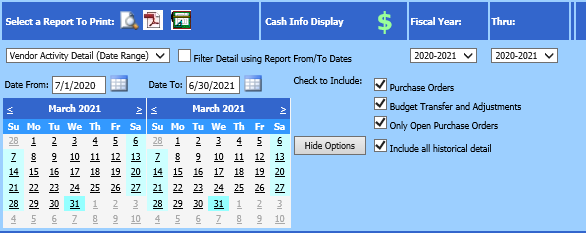
6. Check to include the areas for reporting. Purchase Orders; Only Open Purchase Orders and Budget Transfer and Adjustments.
7. Check to include all historical detail.

8. Select Preview  to display your
report or to print a PDF, select
to display your
report or to print a PDF, select .
.
Load Activity into an Excel Spreadsheet
1. Select the Excel button  and a
report will be created for you to export into Excel. When the report is created
an Open Worksheet button replace the Excel button. Select the Open Worksheet
button
and a
report will be created for you to export into Excel. When the report is created
an Open Worksheet button replace the Excel button. Select the Open Worksheet
button  and select from
the following options to Open, Save or Save As.
and select from
the following options to Open, Save or Save As.

2. Select Open to display. The report will display in Excel. You may view, adjust, and save the report.
3. Select Save, the report will save in a download area, the box below will display. From here you may open the document, open the download folder or view your download and save.

4. Save as, navigate to the location of your choice, name and save your document.