
Revised: 09/2023
This area allows you to add and maintain your Vendor record used in Accounts Payable.
Add New Vendor
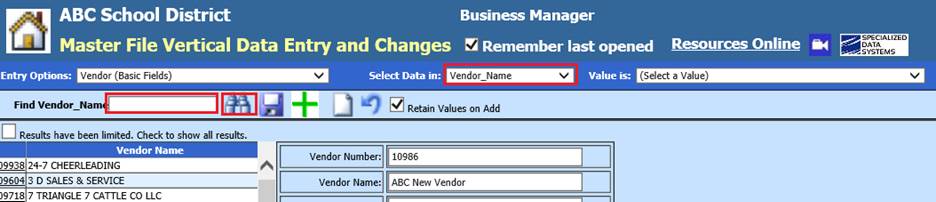
1. Select Master File and Code Entry Options
2. Select Master File Vertical Data Entry and Changes
3. Entry Options: Select Vendor (Basic Fields)
4. Select Add a new record
5. Complete Vendor fields, as needed.
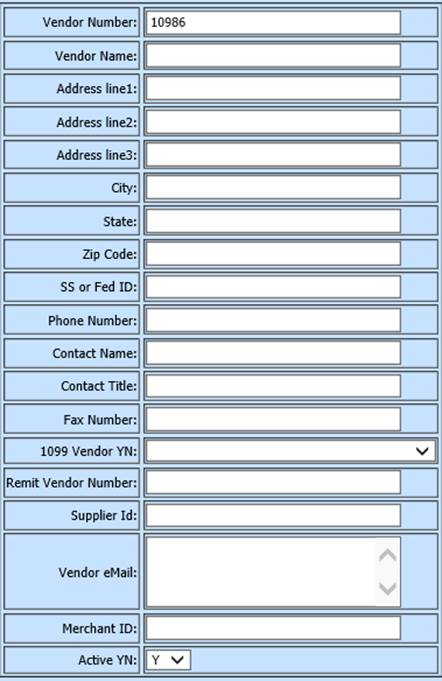
•Vendor Number: This field will auto populate the next vendor number available – Do not enter a value
•Vendor Name: Enter vendor name. Do not use an apostrophe (‘), you can use the acute symbol (`) in place of the apostrophe. If a “person name”, suggestion is Last Name, First Name. This will print on checks with First Name Last Name.
•Address line 1: Enter vendor address
•Address line 2: Enter additional vendor address information, if needed
•Address line 3: Enter additional vendor address information, if needed
•City: Enter vendor city
•State: Enter vendor state
•Zip Code: Enter vendor zip code
•SS or Fed ID: Enter vendor number completed from W9 form or the social security number of an individual
•Phone Number: Enter vendor Phone Number
•Contact Name: If the vendor is a Company or Corportion, enter a contact name
•Contact Title: Enter vendor contact title
•Fax Number: Enter vendor Fax Number
•1099 Vendor YN: If “Blank” or “N”, vendor will not receive 1099 form: If “Y” or other IRS defined codes, vendor will be flagged to receive 1099 form with code listed
•Remit Vendor Number: This field is used for vendors that have a different payment address then the ordering address. Enter the new vendor number in this field for the company that has a different ordering address. When the invoice or purchase order is selected to be paid, the program will change the vendor to the remit vendor number.
•Supplier Id: If vendor is a Supplier, enter Supplier ID
•Vendor eMail: Enter vendor email address, Note: Multiple emails, per vendor are allowed. The proper way to enter more than one email per vendor is to add with a comma and space in between, i.e. email1@linq.com, email2@linq.com, email3@linq.com
•Merchant ID: Enter Merchant ID
•Active YN: Active “Y” or Inactive “N”
6. Select Save
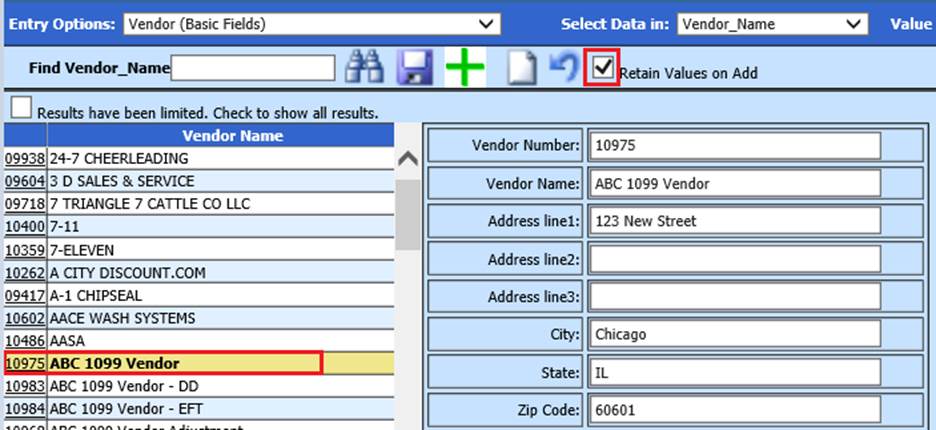
Add New Vendor with Retain Values on Add option
If you are entering a new
vendor that is similar to a current vendor, you can clone or copy the current
vendor selected using Retain Values on Add process.
1. Select vendor to copy
2. Place a check in Retain Values on Add
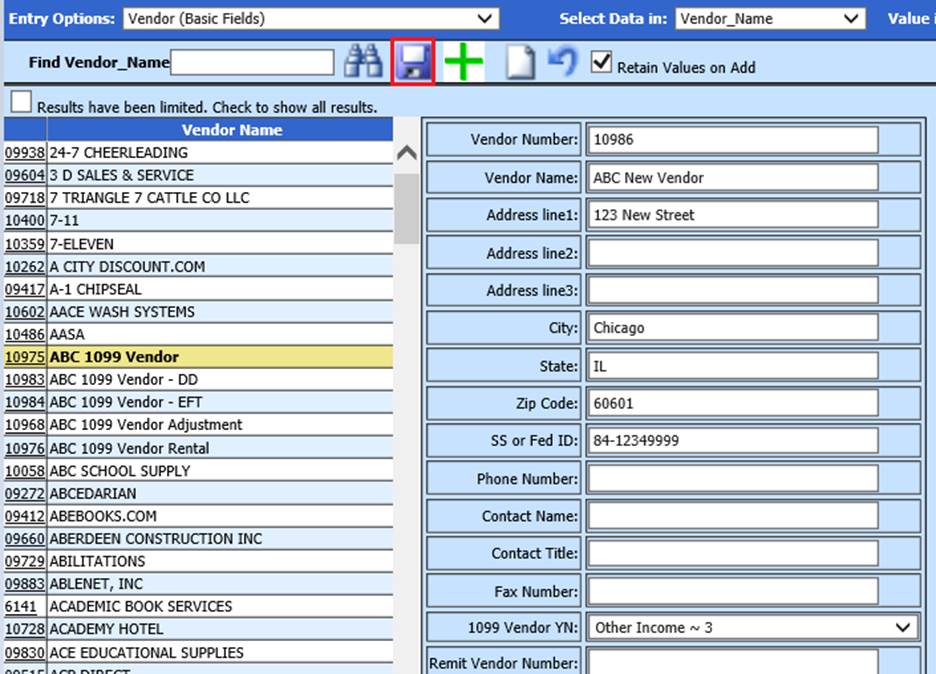
3. Select  to add a new record
4. The information from current vendor selected will be available to adjust, as needed
5. Select Save
Search for a
Vendor
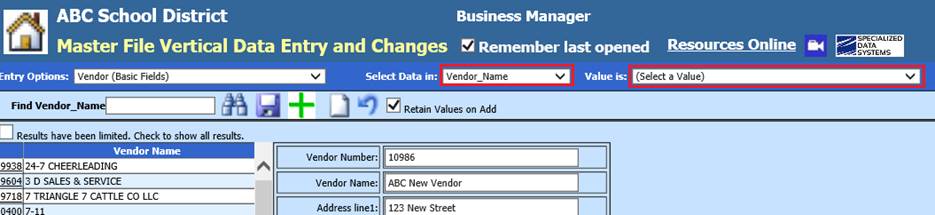
Select Data in: Determine the field to use for searching
Value is: Select dropdown list for a complete list
available in the selected field
Search Entry Box: Enter a word
or words to find a specific vendor or group of vendors.
Select the Binoculars or Enter. The vendor or group with the similar name will display.
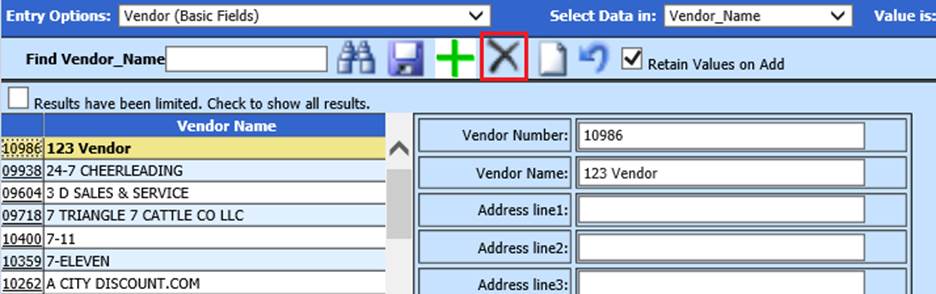
Delete a Vendor
1. Select vendor.
2. Select Delete  , if the Delete option is unavailable,
the vendor has current history in the system and cannot be deleted.
, if the Delete option is unavailable,
the vendor has current history in the system and cannot be deleted.
Note: If vendor is duplicated and both vendors have current history, you can use the Combine Vendor process. See below link for additional detail: http://help.schooloffice.com/financehelp/#!Documents/vendorscustomers.htm
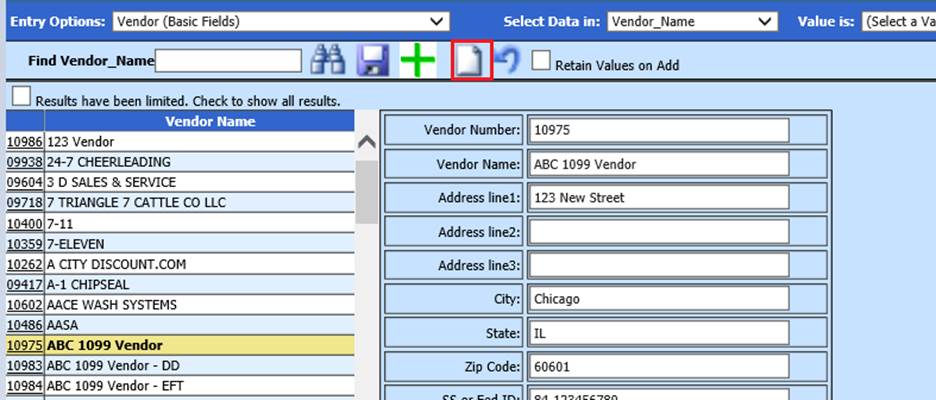
Document Storage and Retrieval
This process allows the ability to attached documentation to a vendor record, i.e. completed W9 form, etc.)
To Add a Document:
1. Select vendor
2. Select  document
3. File Path/Name: Browse to navigate to a document to add
4. Enter a Description, if desired
5. Select a Security Group, if desired
6. Select Add
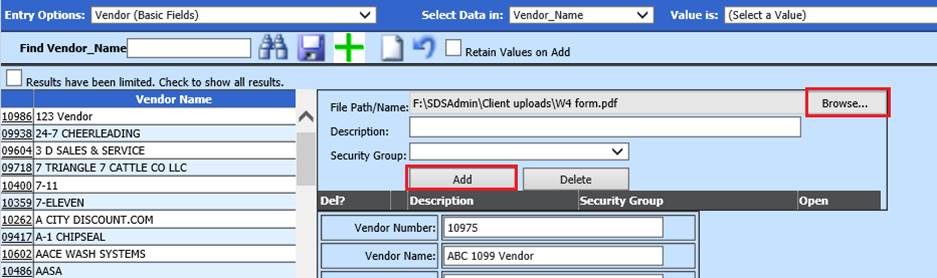
7. Your document will display
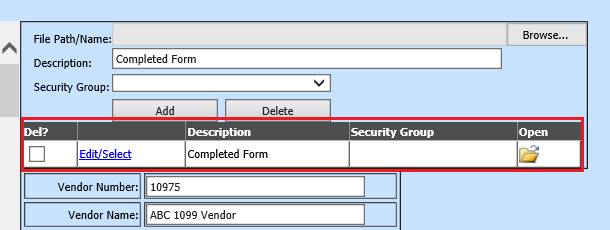
8. Select the Open folder to open document
9. Select Edit/Select to Edit Description or Security Group, when complete select Save or Cancel
10. To Delete, Check the Del? Box, and then select the Delete button to delete document(s)
Show Inactive Vendors
Place a Check to show Inactive Vendors
