Revised: 10/2020
These steps will walk you through the process of setting up vendors to receive payments by direct deposit.
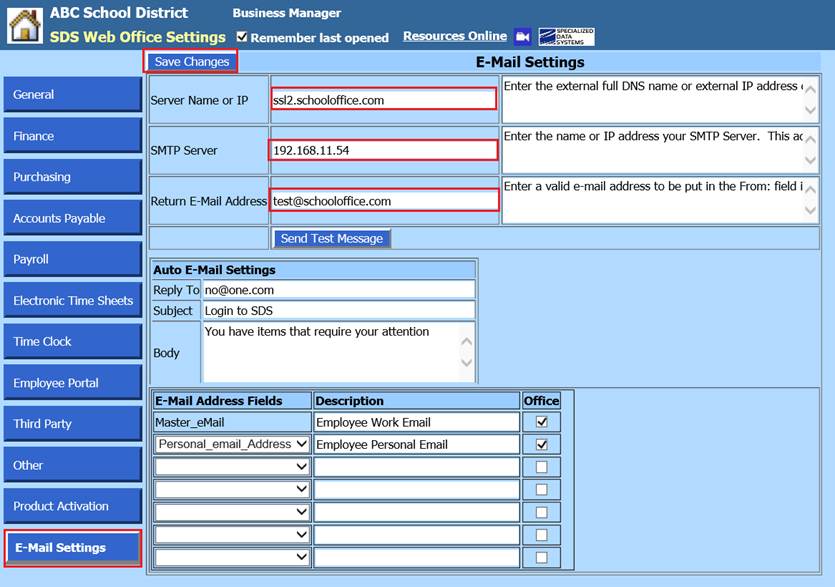
Setup IP addresses and Return Email Address for District
1. Select Administrative Utilities
2. Select Web Office Settings
3. Select the E-Mail Settings tab
4. Fill in the IP addresses (if hosted by SDS please contact support) and the return email address
5. Select Save Changes
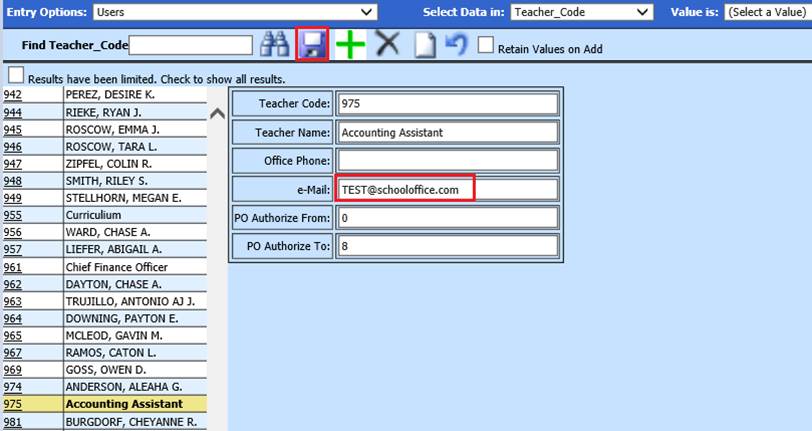
Setup Email for SDS user that will be sending vouchers
1. Select Master File and Code Entry Options
2. Select Master File Vertical Data Entry Changes entry views
3. Entry Options: Select Users
4. Choose user that will be sending vouchers
5. Verify or enter email address
6. Select Save
Enter Banking information for Vendors to receive Direct Deposit
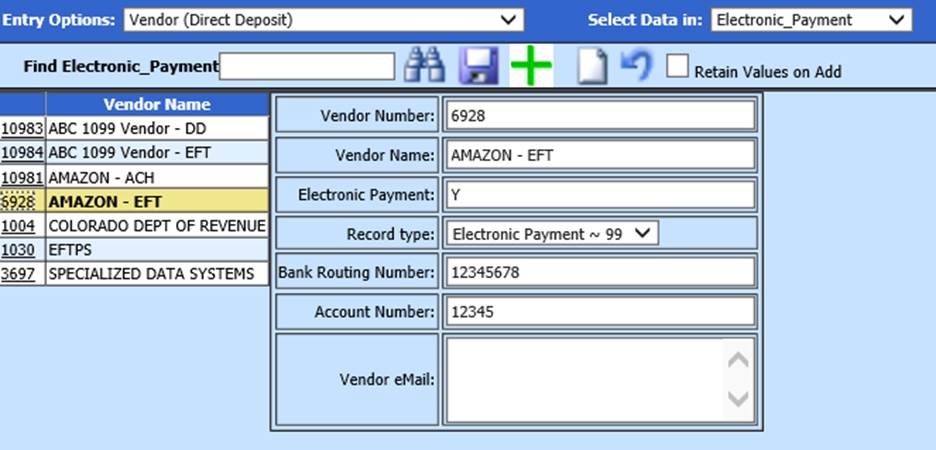
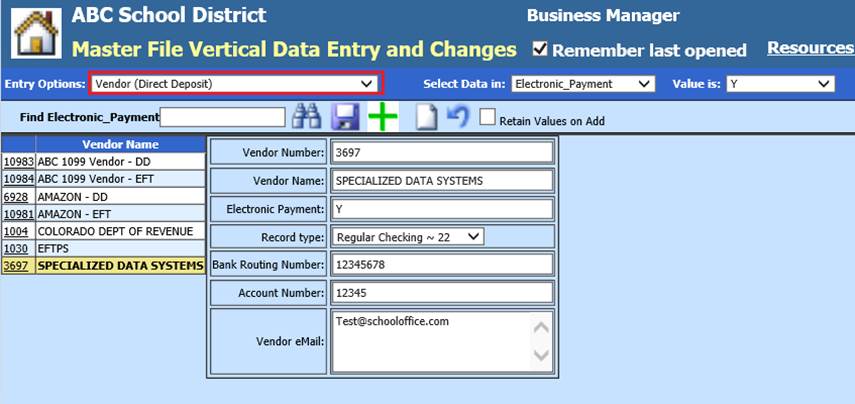
1. Entry Options: Select Vendor (Direct Deposit).
2. Select Vendor
3. Electronic Payment: Enter “Y”
NOTE: Electronic payment should remain at “N” if using pre-note option
4. Record Type: Enter record type:
a. 22 – Regular Checking
b. 23 – Pre-note Checking
c. 32 – Regular Savings
d. 33 – Pre-note Savings
e. 99 – Electronic Payment (EFT): See below EFT suggestion when using “99”
5. Enter bank routing number, bank account number and Vendor eMail address, provided from the vendor
6. Select Save
Electronic Payment (EFT) Vendors; i.e. Payroll liability payments
When setting up vendors with “99 – Electronic payment”
•Bank routing number: Enter “12345678”
•Account number: Enter “12345”