Revised: 4/2021
NOTE: Only proceed if Customer Master is setup.
1. Select Accounts Receivable
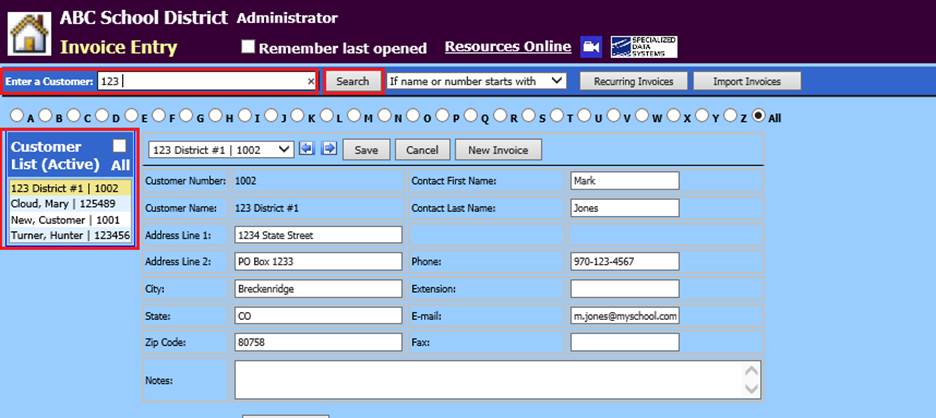
2. Select Invoice Entry
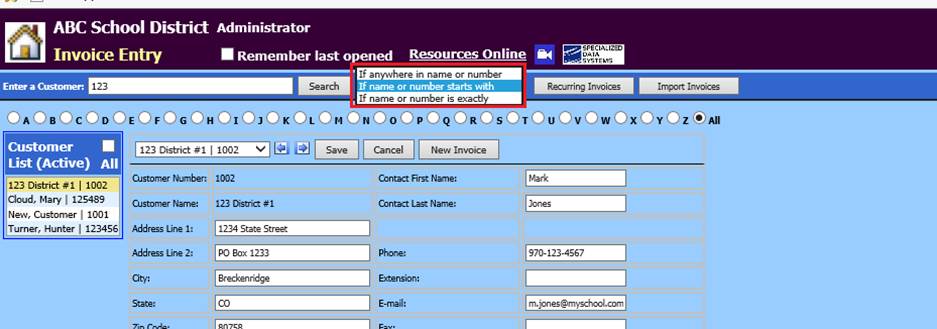
3. Select the customer by selecting the list down arrow below “Enter a Customer Name” or by typing in the first few letters of the name and Search.
4. There are three choices in the drop down selection used in Customer searching. Make note of Customer Name as to not duplicate it. i.e. Mary Cloud vs. Cloud, Mary.
a. If the search does not display Customer needed, the system will promt you to enter the new Customer information and assign a Customer Number.
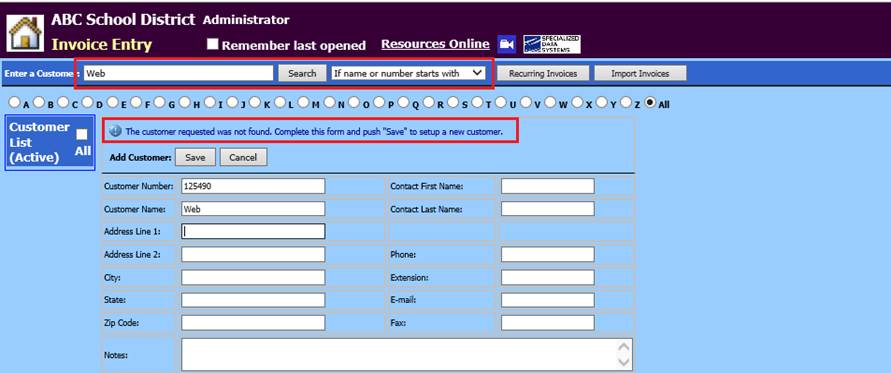
b. Select Save when fields are completed
c. A system message will display, select OK

d. Once the customer number is system assigned the customer number and name can be edited/changed.

e. Select Save
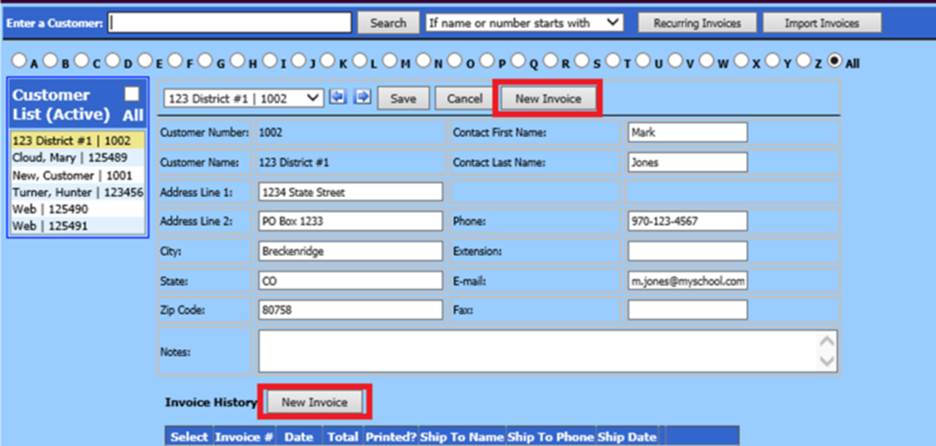
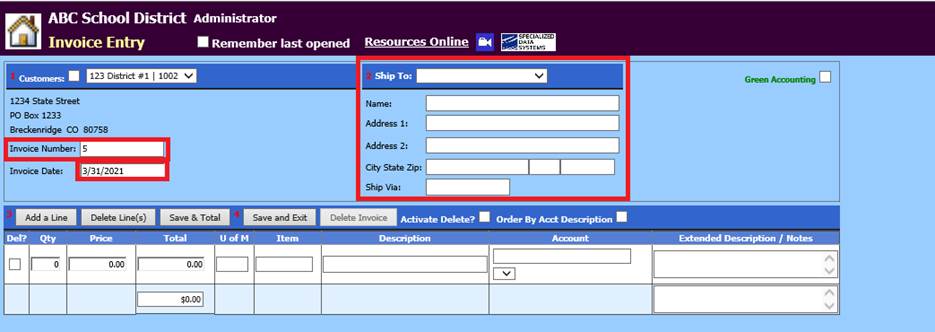
5. Select New Invoice
6. The invoice number is auto assigned. You can adjust this number, if needed.
7. Enter invoice date
8. “Ship To” section can be bypassed, as it is optional.
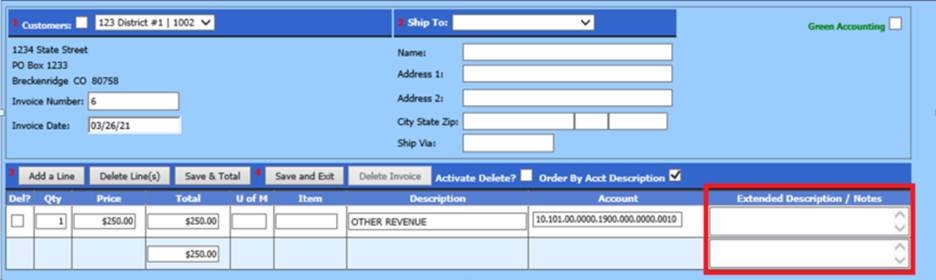
9. Enter quantity, price, description, (if description is bypassed, the account description will display) and account number.
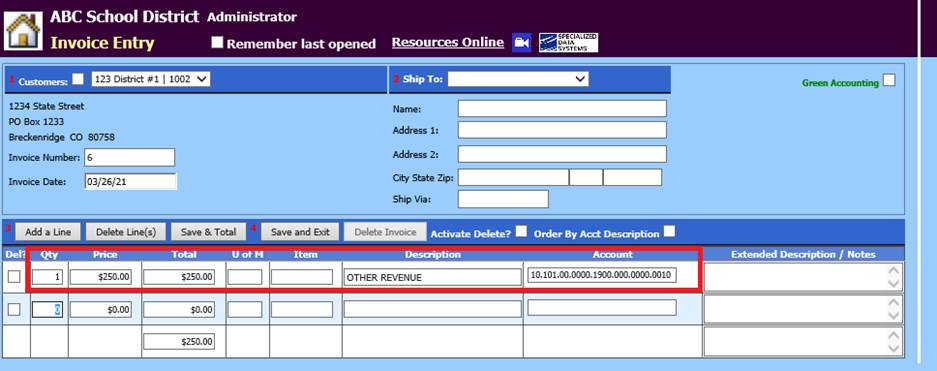
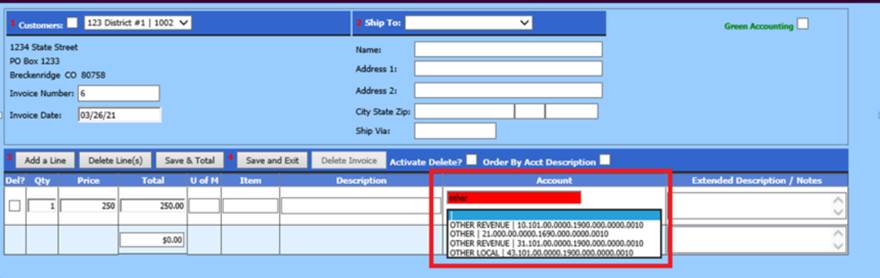
a. The account number or account description can be entered (e.g. other) to search, select the correct account from the drop down selection.
b. To display or search by description, check next to “Order by Acct Description”.
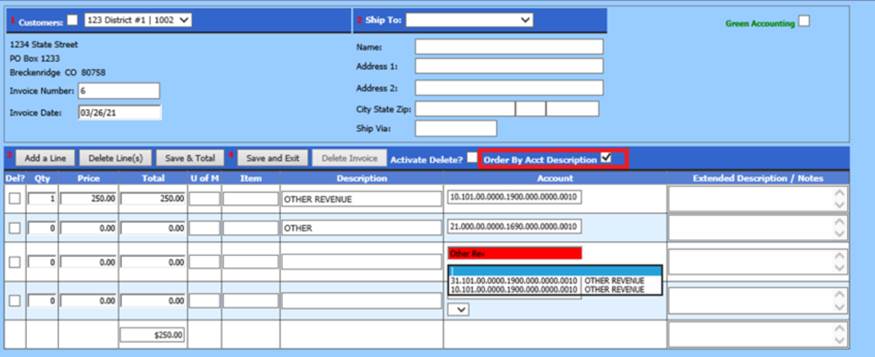
c. Monies applied to the account number will show as an “encumbrance” for the account
10. The expanded description/notes field is for additional use. Add additional detail regarding the invoice and why the customer is charged.
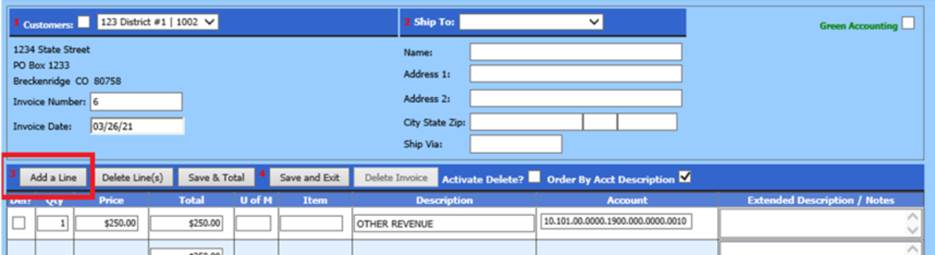
11. If multiple line entries, select Add a Line to enter in the next item.
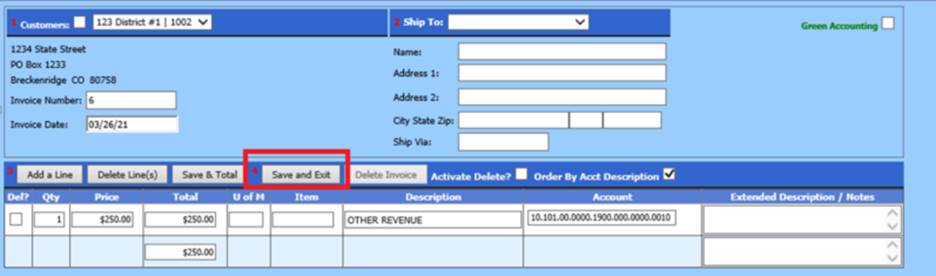
12. When invoice is complete, select “Save and Exit”
13. If additional Invoices are to be entered, choose another customer and then select “New Invoice”.