Revised 4/2021
There are a few steps to be completed to begin using the Accounts Receivable process.
Set up Customers for Accounts Receivable
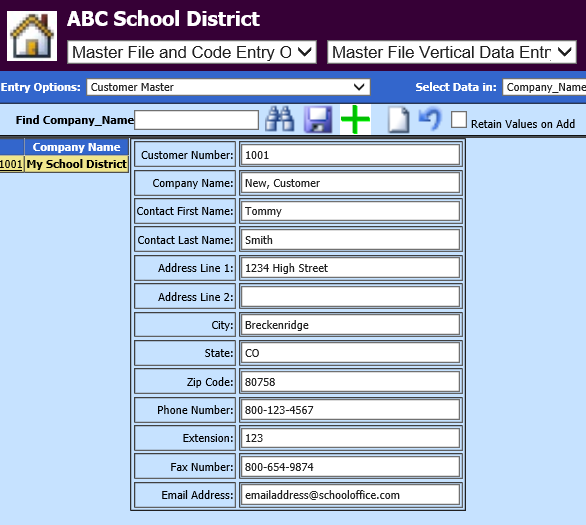
1. Select Master File and Code Entry Options
2. Select Master File Vertical Data Entry and Changes
3. Entry Options: Select Customer Master
4. If this is the first customer entered, determine a starting customer number such as “1001”. After assigning the first customer number continue through the remaining fields and enter needed information.
5. Select Save
6. To create the next customer, select the green plus sign. The customer number will be automatically assigned.
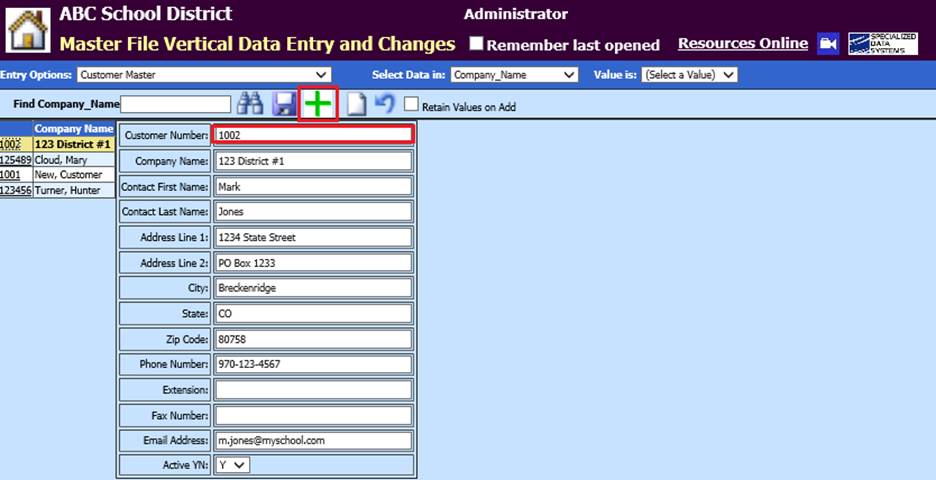
7. To edit a customer locate them on the left side of the screen. Select the customer number.
8. Make the needed changes and save.
Setting up the Accounts Receivable Account
1. Select Master File and Code Entry Options
2. Select Master File Vertical Data Entry and Changes
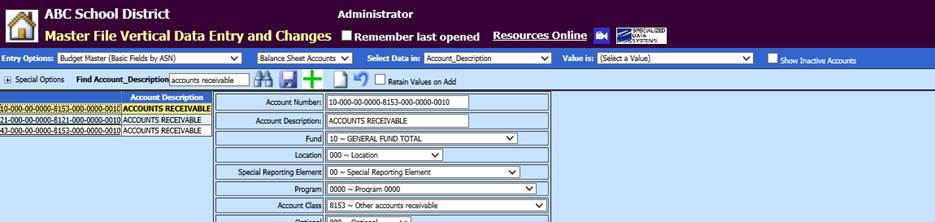
3. Entry Options: Select a Budget Master view, i.e. Budget Master (Basic Fields by ASN)
4. Account type: Select Balance Sheet

5. Locate the Accounts Receivable Balance Sheet Account. If the account is not in the system create the account by selecting the green plus sign. Enter in the Account Number, Description and the remaining information needed to setup an account.
Setting up the Ledger Interface for the Accounts Receivable Account
1. Select Master File and Code Entry Options
2. Select Master File Vertical Data Entry and Changes
3. Entry Options: Select Ledger Interface
4. In the Fields Account Number AR Credit and Account Number AR Debit enter in the Accounts Receivable account number.
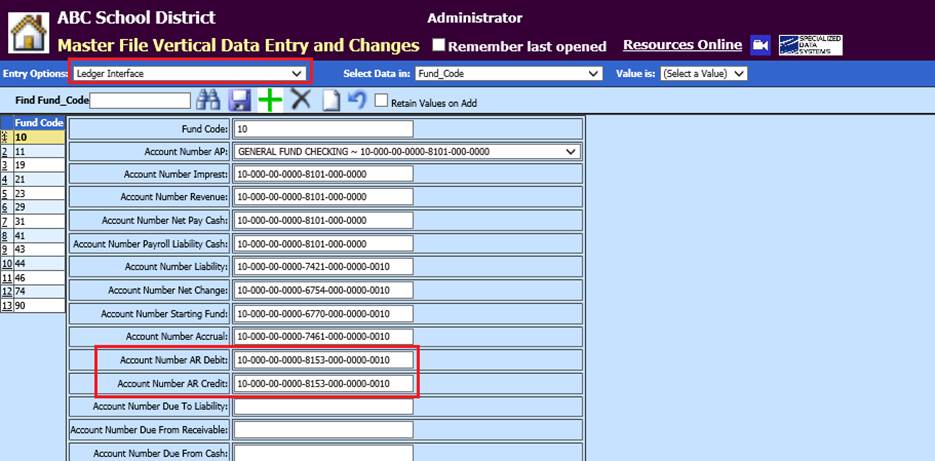
5. Select Save
6. This process needs to be completed for each Fund to be in the system to post customer invoices to an accounts receivable account, on the Balance Sheet.
Note: for more information on setting up the Ledger interface, select the below link:
http://help.schooloffice.com/FinanceHelp/#!Documents/ledgerinterface1.htm