Creating a Quick View
Quick Reports allows adding, deleting, and rearranging fields on a report, viewing to the screen, sorting on the screen and exporting to Excel, CSV and other formats for further analysis.
1. Locate Reports, General Finance Accounting Reports on the menu tree.
2. From Report Group #1, locate the category for your report.
3. From Select a Report #2, select a report by clicking onto it. (Select a report that prints similar information to what you are looking to export.)
4.
Select the Quick View icon at the top of the screen. 
5. There will be three columns on the screen:

o The left column, “Available Fields for Quick View”, is all available fields in every table that the report contains.
o The middle column, “Quick View Fields”, are all fields that the standard report already is using.
o The right column, History Library”, is where saved quick reports setups are saved.
6.
To add fields for the report, select them under “Available Fields for Quick
View” and hit the right arrow  . To remove fields from the report, select
them under “Quick View Fields” and hit the left arrow
  .
.
7.
To rearrange fields in the Quick View Fields area use the up and down arrows

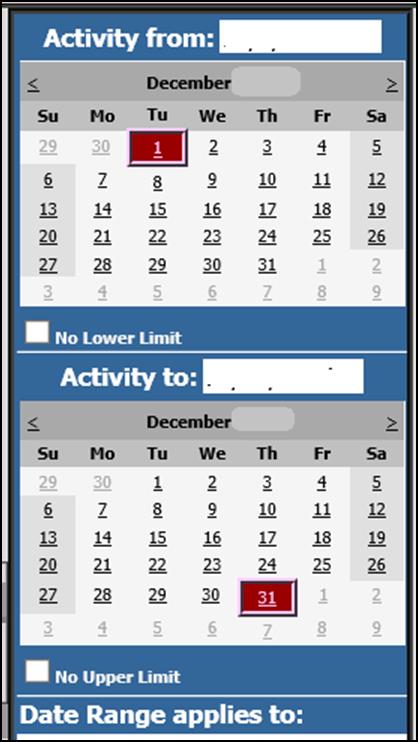
8. Depending on the report template that is select before entering the Quick Report area, calendars may appear on the right for you to select a date range for your report.

9.
To view the data selected choose the  icon.
icon.
NOTE: The default view on the
export screen is 20 per page  .
.
If you click in the box "View/Export
(20 per Page)" the words will change to “View/Export (All on one Page)  The first 500 records will display in
the preview screen.
Both views have numbers at the top to toggle to the next page.
Below is an example of what the Quick View data will look like.

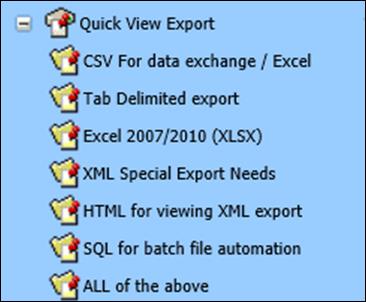
10. To export this data, click the + next to Quick View Export and a list will appear of file types to choose from NEW SCREEN SHOT

11. Click the file format from the list you would like to export, the screen will close
12. Click on
the Documents icon  to see the file that was exported.
13. Right click on the file folder and chose “Save Target As”.
14. Navigate to where you want to save the file, then you can open the file using a program that supports the saved format.